Configuring a Service account
Read as MarkdownWhen using on-premise Exchange with Enterprise Connect, you’ll need to configure a service account to manage events in the calendars of your users.
Microsoft provide documentation for setting up, and, configuring service accounts, as well as the ApplicationImpersonation role. This guide aims to support to that, and will provide you with a good idea of how to create a service account to use with Enterprise Connect.
Step 1 #
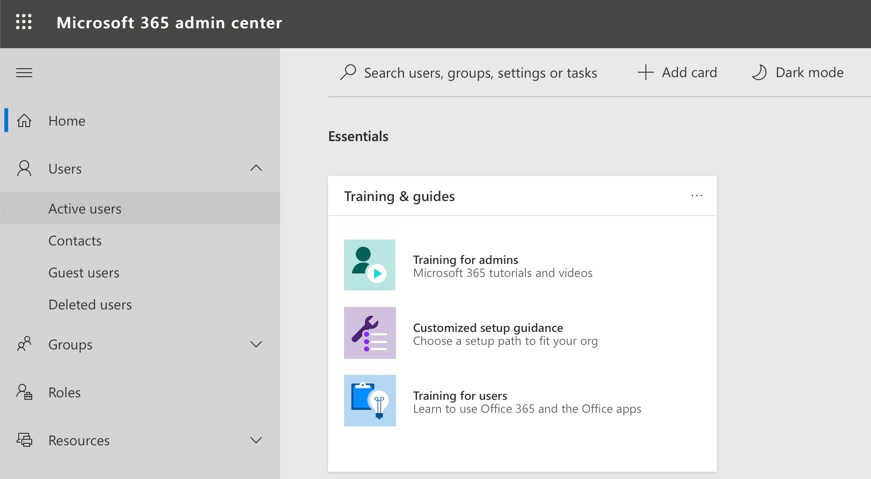
Create a service account by going to Office 365 admin center > USERS > Active Users.
Step 2 #
Click on the “+” icon and create a new user account.
Step 3 #
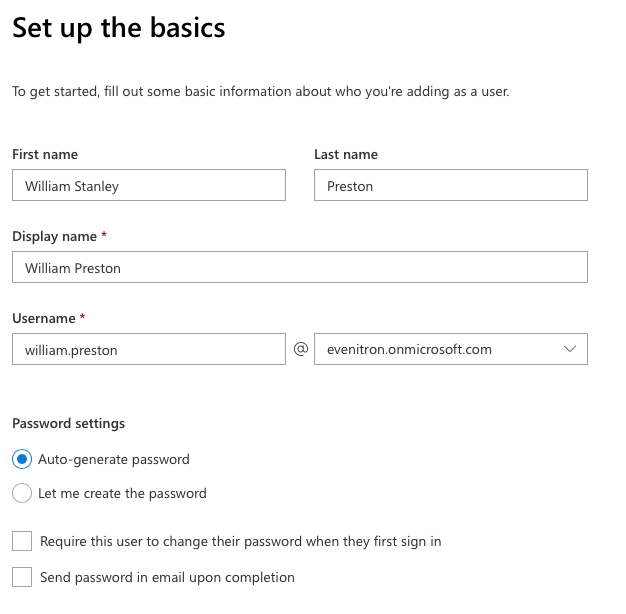
Fill in the required information for the Service account:
- Enter the first name, last name, display name, user name, and your email domain.
- Select Type password and enter the password for the service account. Deselect the “Make this person change their password the next time they sign in” check box.
- Enter the email address of the recipient to whom the password must be sent. Select Create.
- Assign an Office 365 E3 license or higher and finish the account creation wizard by checking the details and pressing Next.
In order for Rooms and Resources on your Office365/Exchange domain to function with Cronofy, the Service Account must have a mailbox and license assigned.
Next steps #
Let’s set up the Application Impersonation role on the new service account, which’ll allow your Service account, to manage events in your users calendars.