Free/Busy Calendar Access Mode
Read as MarkdownThe Free/Busy Calendar Access Mode is now available for Office 365 Enterprise connections. This allows you to grant more restricted access to your organization’s calendars.
As Free/Busy access is read-only, Cronofy can see whether a user is free or busy at a given time, but cannot see event details and does not have permission to write events directly into the user’s calendar. See this documentation for more information on the Microsoft Graph scopes Cronofy utilizes.
Events can still be created through Cronofy, but instead of being written directly into their calendar, event invites are sent to the customer’s inbox which they can accept. Updates to these created events will also be sent to the user’s inbox. For more detail on how this behaves for developers, see Free/Busy Access.
Service account requirements #
The account you sign in with during the connection process acts as the service account for your organization’s Free/Busy connection. It needs:
- An Exchange Online mailbox. Free/Busy connections read your users’ schedules through the service account’s own calendar, so the account must have a real mailbox. Any Microsoft 365 license that includes Exchange Online is sufficient — for example E3, E5 or F3.
- A standard user role. The service account does not need to be a Global Administrator, or hold any other admin role.
Cronofy reads availability using Microsoft’s getSchedule API, which returns whatever Free/Busy information each user’s calendar permissions expose to the service account. In most tenants this requires no further configuration.
We recommend using a dedicated account rather than a named individual’s, so that the connection isn’t affected if that person leaves the organization.
Connecting your calendars #
The steps to connect your organization’s calendar follows a similar authorization flow to the steps found here but you will be provided with a different authorization screen instead where you will need to select Free/Busy:
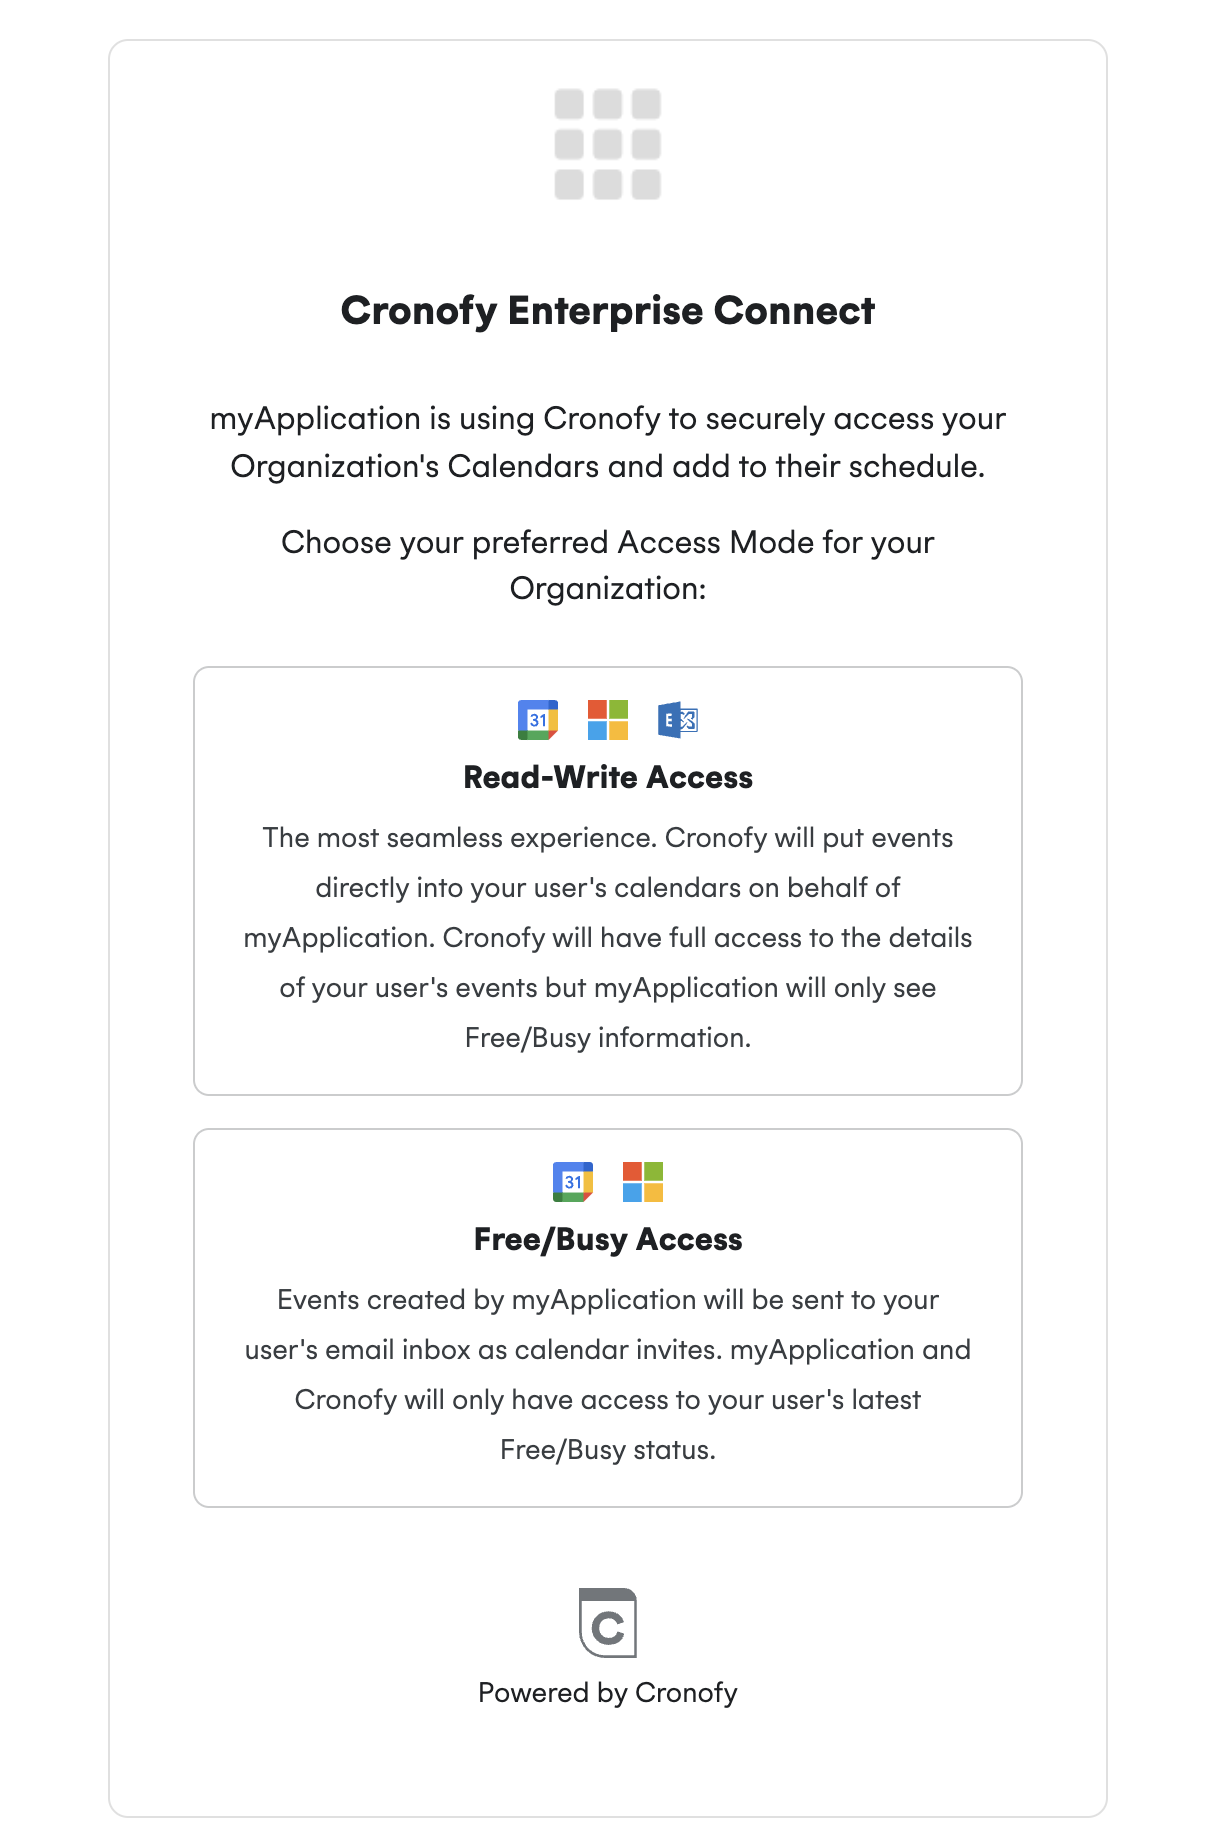
Then from here you will need to select Microsoft 365:
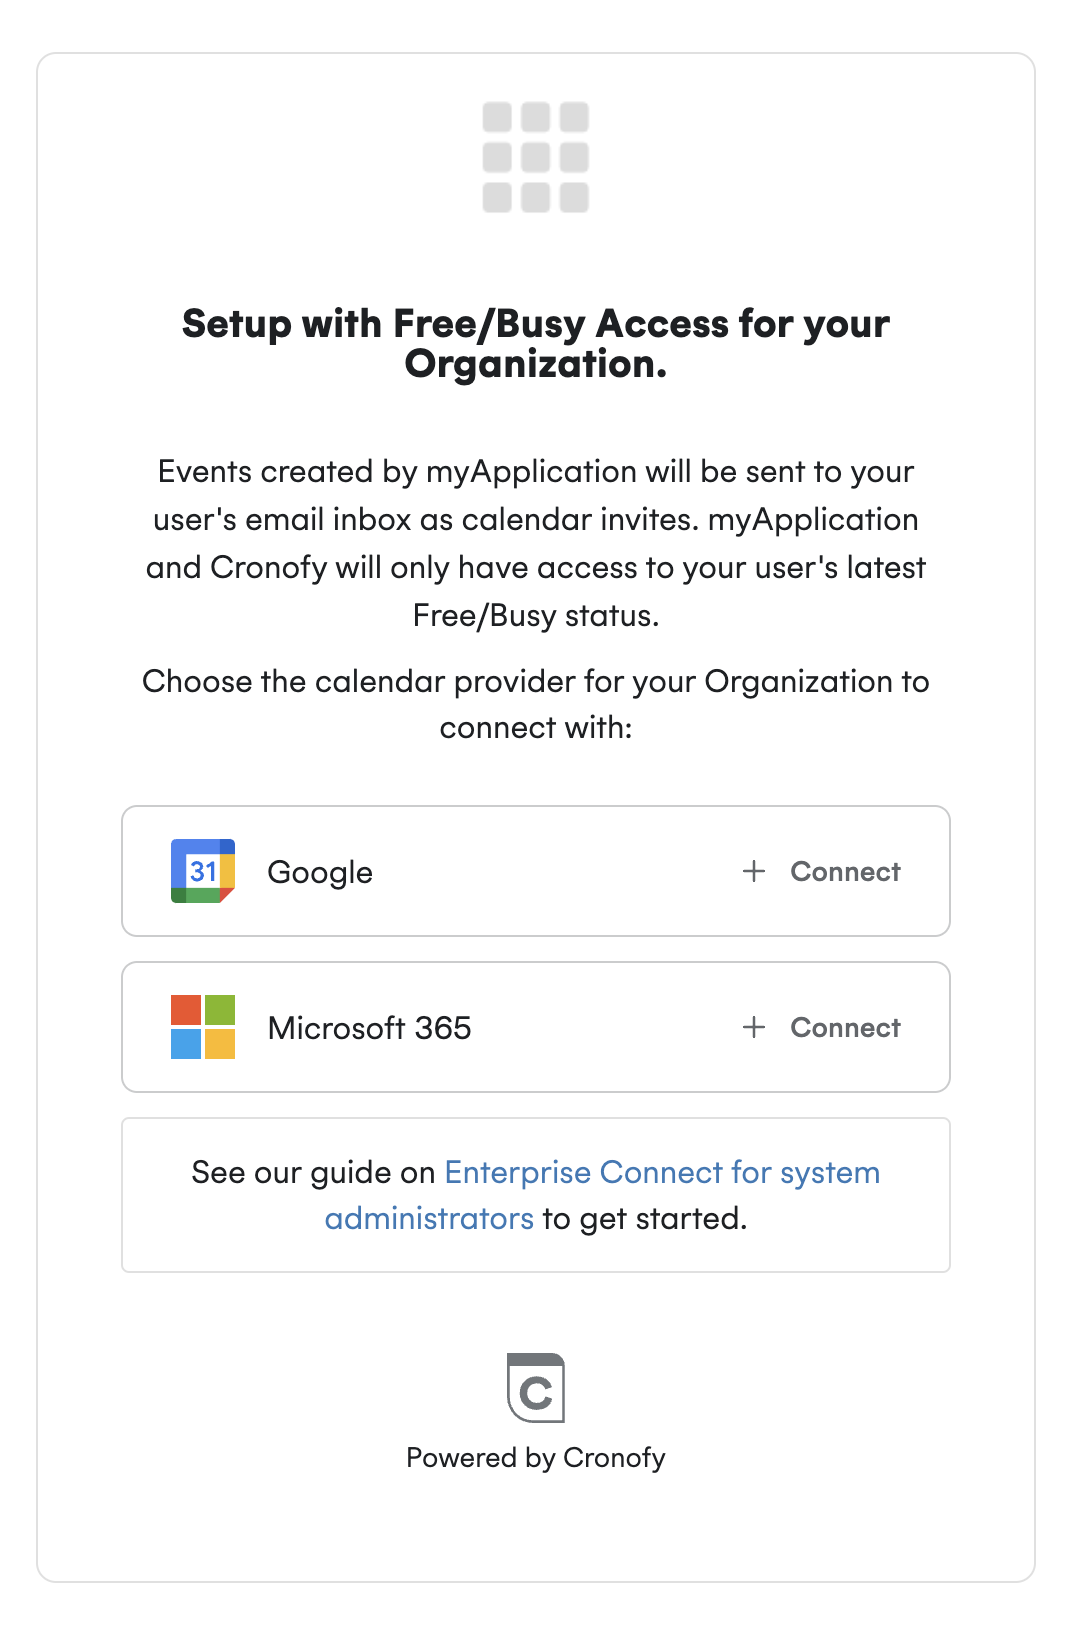
Once this has been selected you will be taken to the following screen to link your Office 365 tenant:
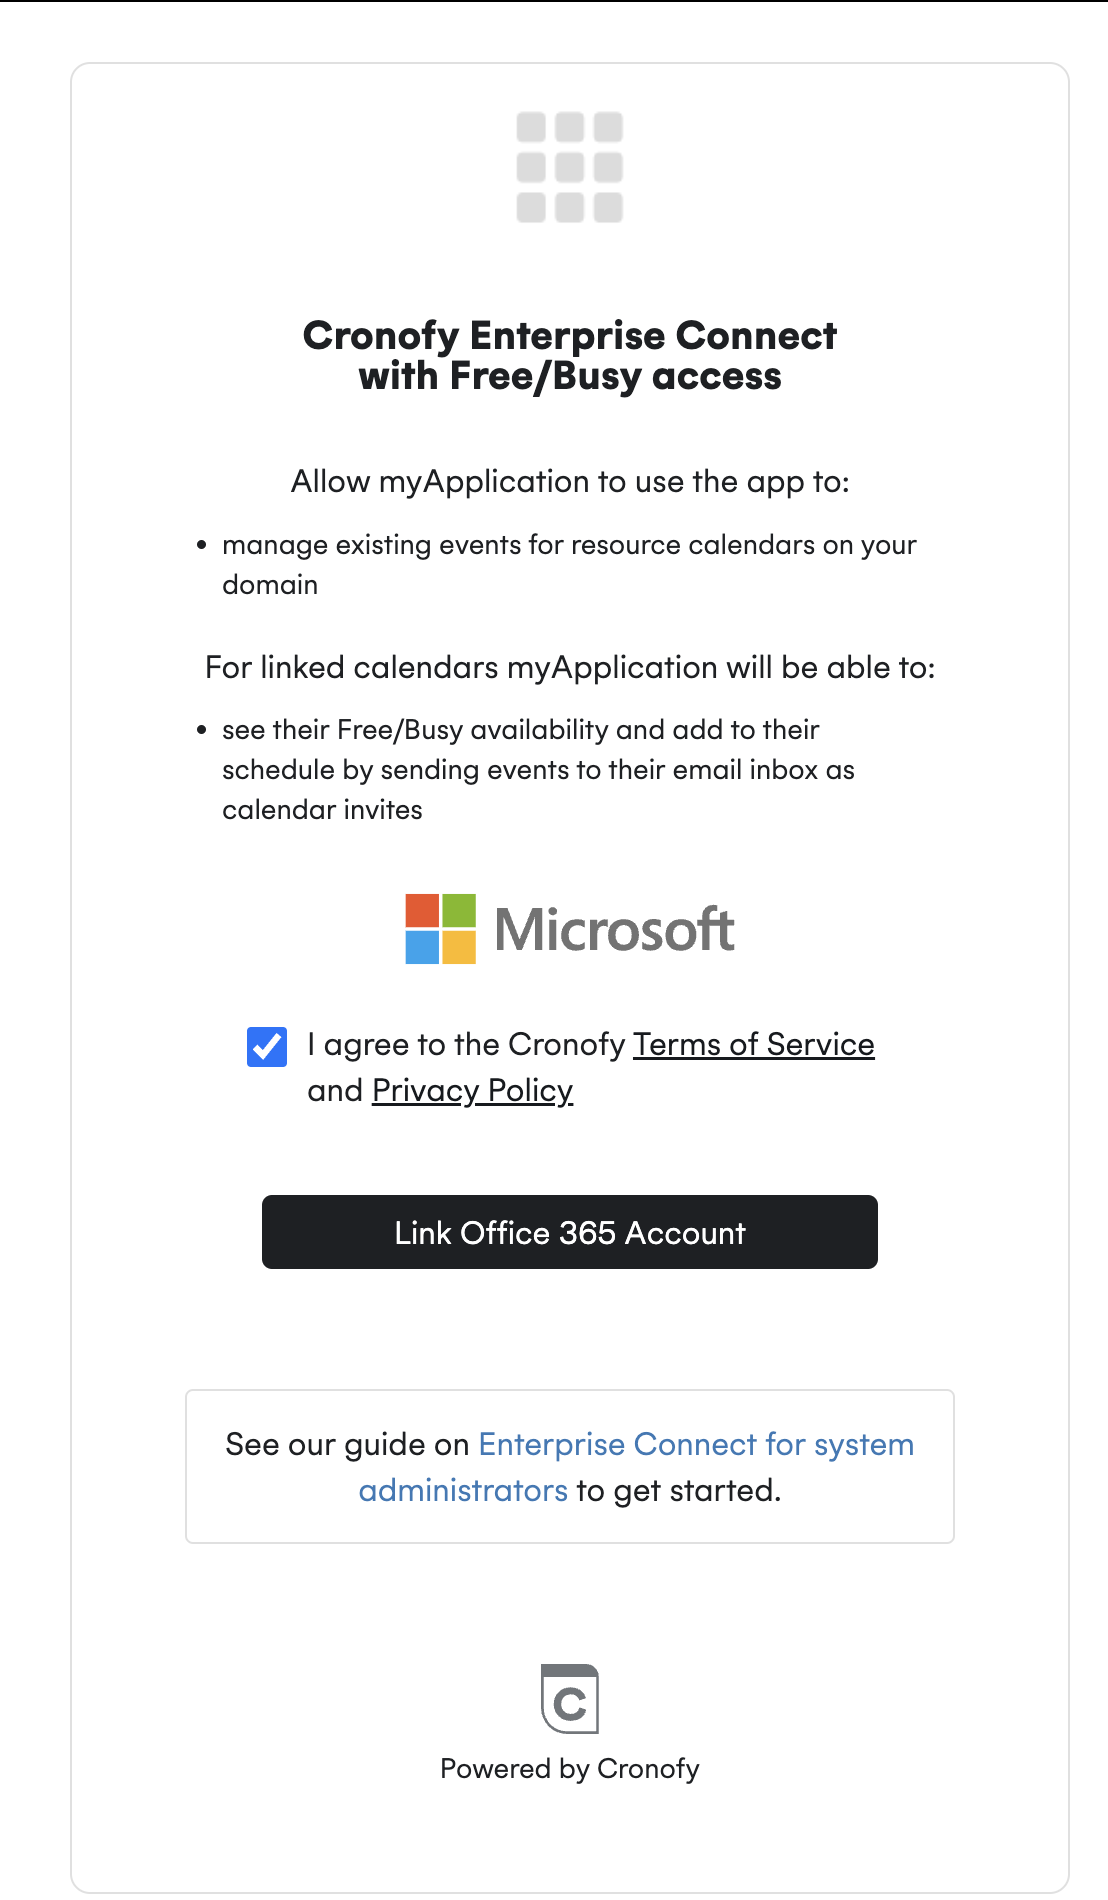
After selecting Link Office 365 Account you will see a screen similar to this.
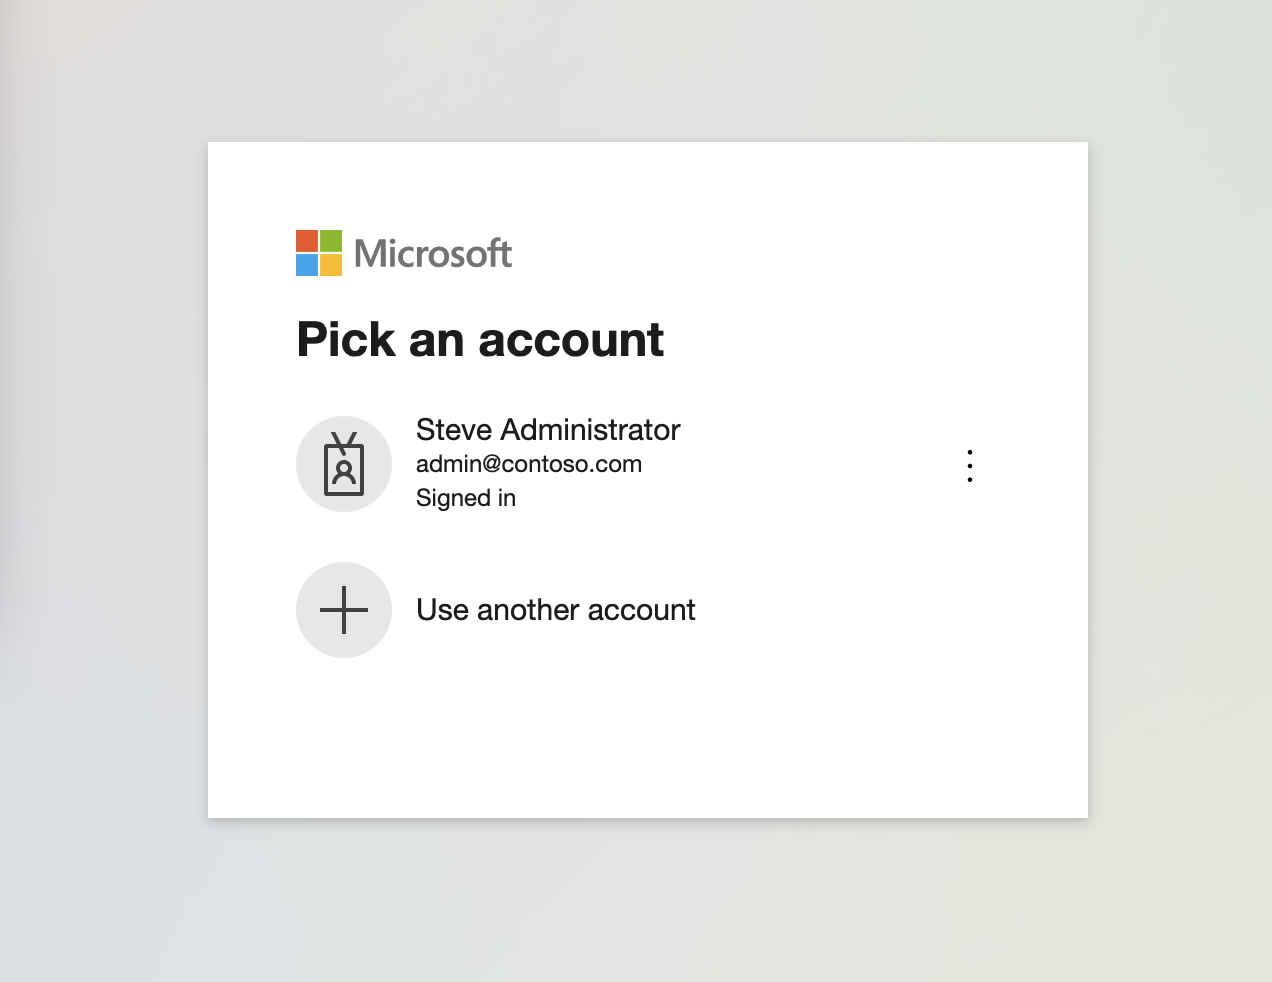
Log in to your Office 365 tenant as the service account you have chosen for the connection. This account provides the mailbox that Free/Busy queries are made through, and does not itself need to hold an administrative role — see Service account requirements above and Administrator involvement below.
You’ll see the following screen to approve the necessary permissions for Enterprise Connect:
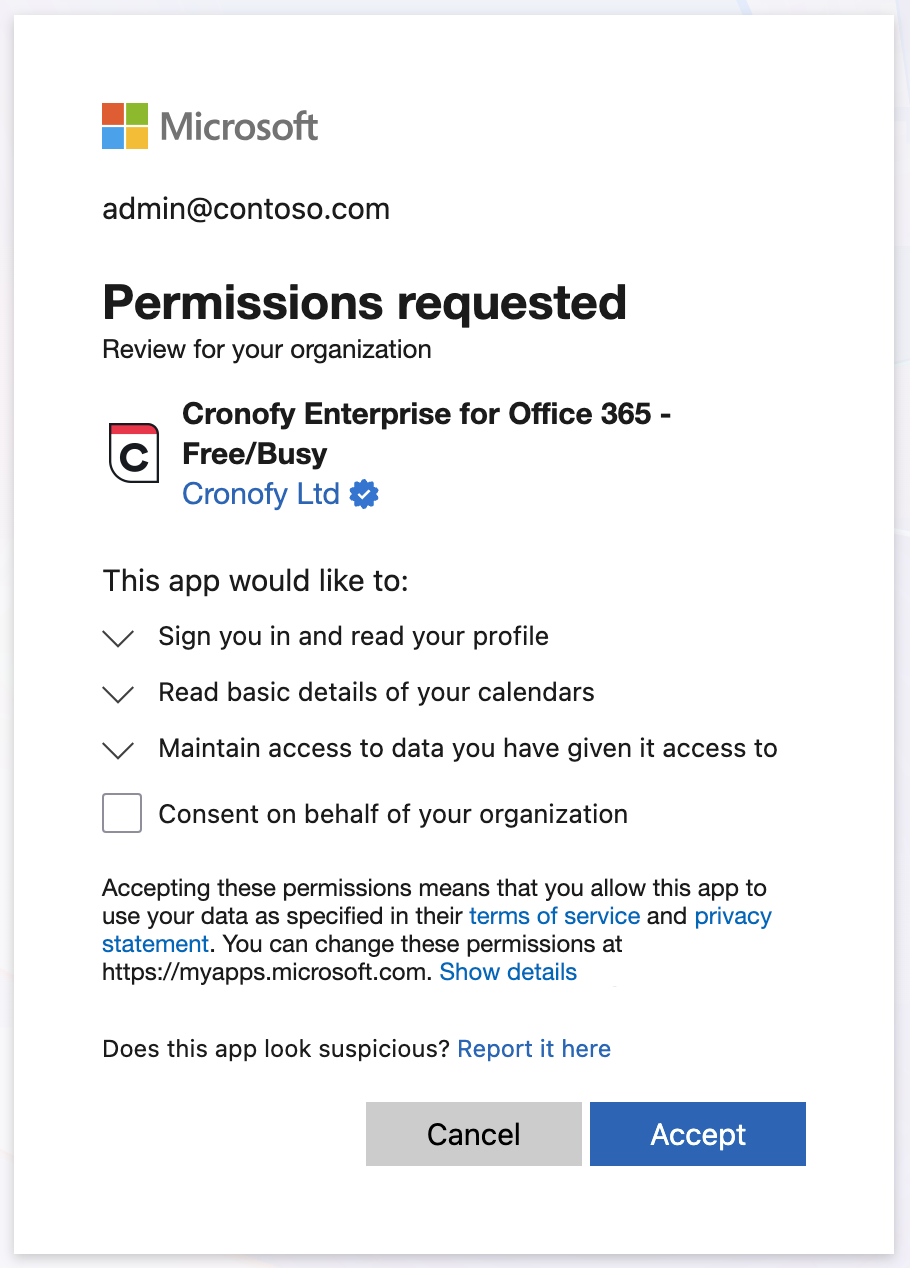
Once complete, you’ll be redirected back to your software vendor’s application where they’ll synchronise your user’s calendars.
Administrator involvement #
Connecting your organization’s calendars is an administrator-led process. The service account does not itself need to hold an administrative role, but your administrators remain in control of the connection between Cronofy and your tenant:
- Approving access. An administrator of your Microsoft 365 tenant must consent to the Cronofy application before any calendars can be read.
- Managing the connection. Reviewing and revoking a software provider’s access is done through your Enterprise Connect Dashboard, which requires administrator access.
The service account provides the mailbox that Free/Busy queries are made through. It does not grant Cronofy any access that an administrator has not already approved.
Granting admin consent #
If your tenant requires administrator approval for applications, the service account will see a “Need admin approval” message when it signs in. An administrator then needs to consent to the Cronofy application once, on behalf of the tenant.
This can be done in the Microsoft Entra admin center:
- Sign in as a Global Administrator, Cloud Application Administrator, or Privileged Role Administrator. Any of these roles is able to grant the consent.
- Navigate to Entra ID > Enterprise applications.
- Select Cronofy Enterprise for Office 365 - Free/Busy (Application ID
9437e0a7-15ef-46bd-9106-da9b1477234d). - Under Security > Permissions, select Grant admin consent for {your organization}.
- Review the requested permissions and accept. See which Graph scopes Cronofy utilizes for details of what each permission is used for.
An administrator can also complete the connection flow themselves, where they will be offered the option to consent on behalf of the organization.
If you have any questions regarding Free/Busy Calendar Access Modes or if you are a Cronofy Scheduler customer connecting your organization’s calendars, please contact us at support@cronofy.com.
In This Section
- Booking Microsoft resource calendars with Free/Busy How to get events onto Microsoft resource calendars when connected via Free/Busy access.
- Restricting which mailboxes Cronofy can see How to prevent a Free/Busy service account from reading the calendars of specific people in your Microsoft 365 tenant.