Postman
Read as MarkdownPostman is the go-to tool for many developers exploring the capabilities of Internet APIs. The Cronofy API is fully compatible with Postman so you can get started really quickly and start to learn how our API works.
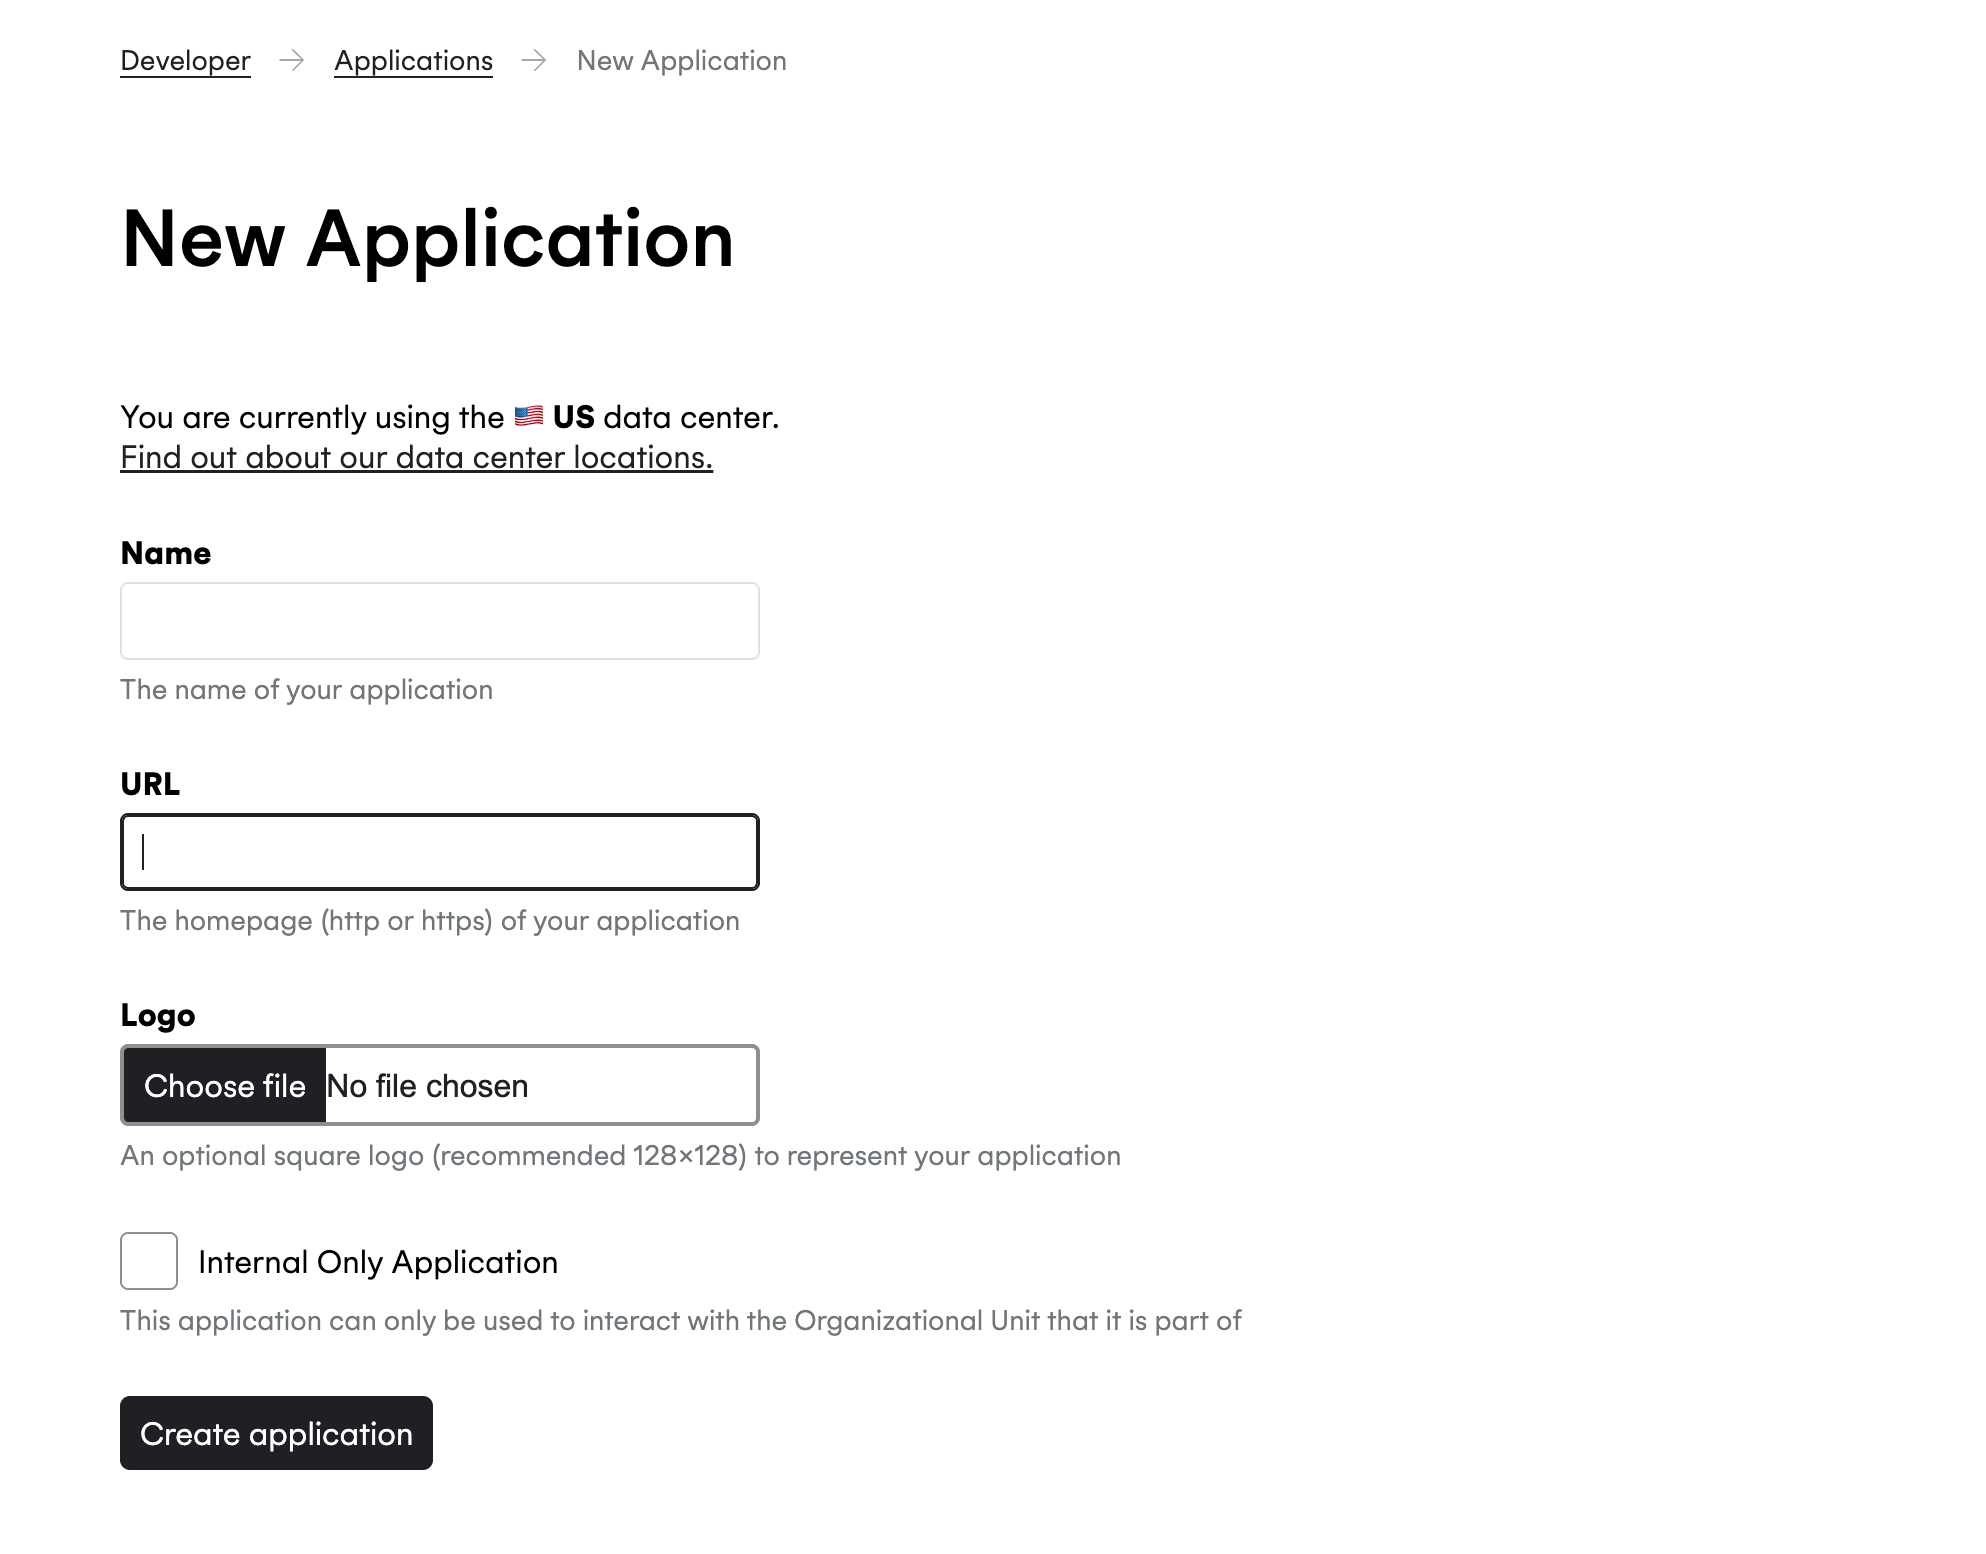
1. Get your Application credentials from the Cronofy Developer Dashboard #
If you don’t have an Application yet create one here.
When setting up your Application, add the URL of your application in the URL box. For testing purposes, you can also use your localhost here.
Then, navigate to the Settings tab to find your client_id and client_secret.
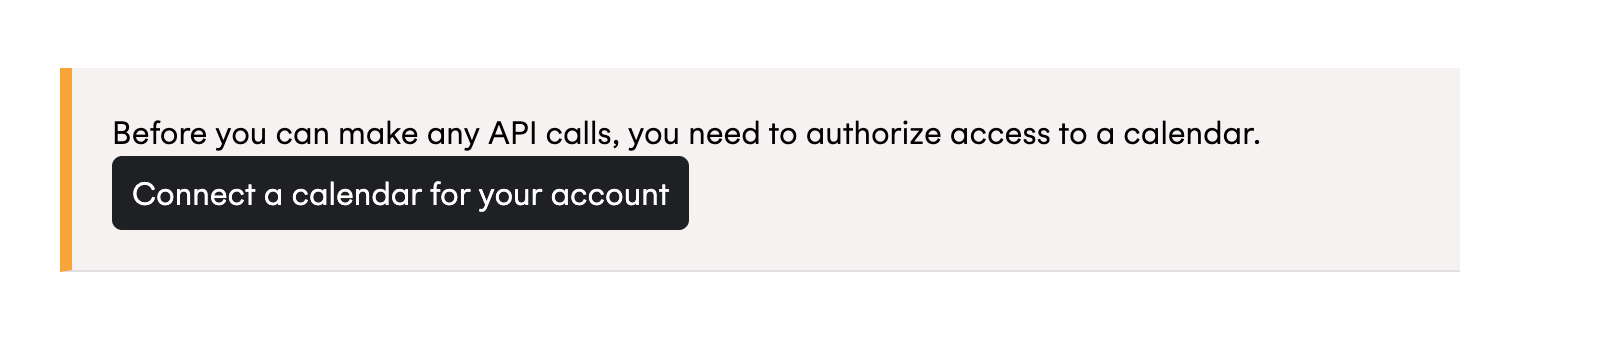
Before you can make any API calls, you will also need to authorize access to your calendar.
You can either do this by clicking the Connect a calendar for your account button to get connected or in step 3, when you generate an access token.
2. Download the Cronofy Postman Collection #
In the Settings tab you’ll see a Run In Postman button that will allow you to download the collection.
Altenatively download it here by clicking the following button.
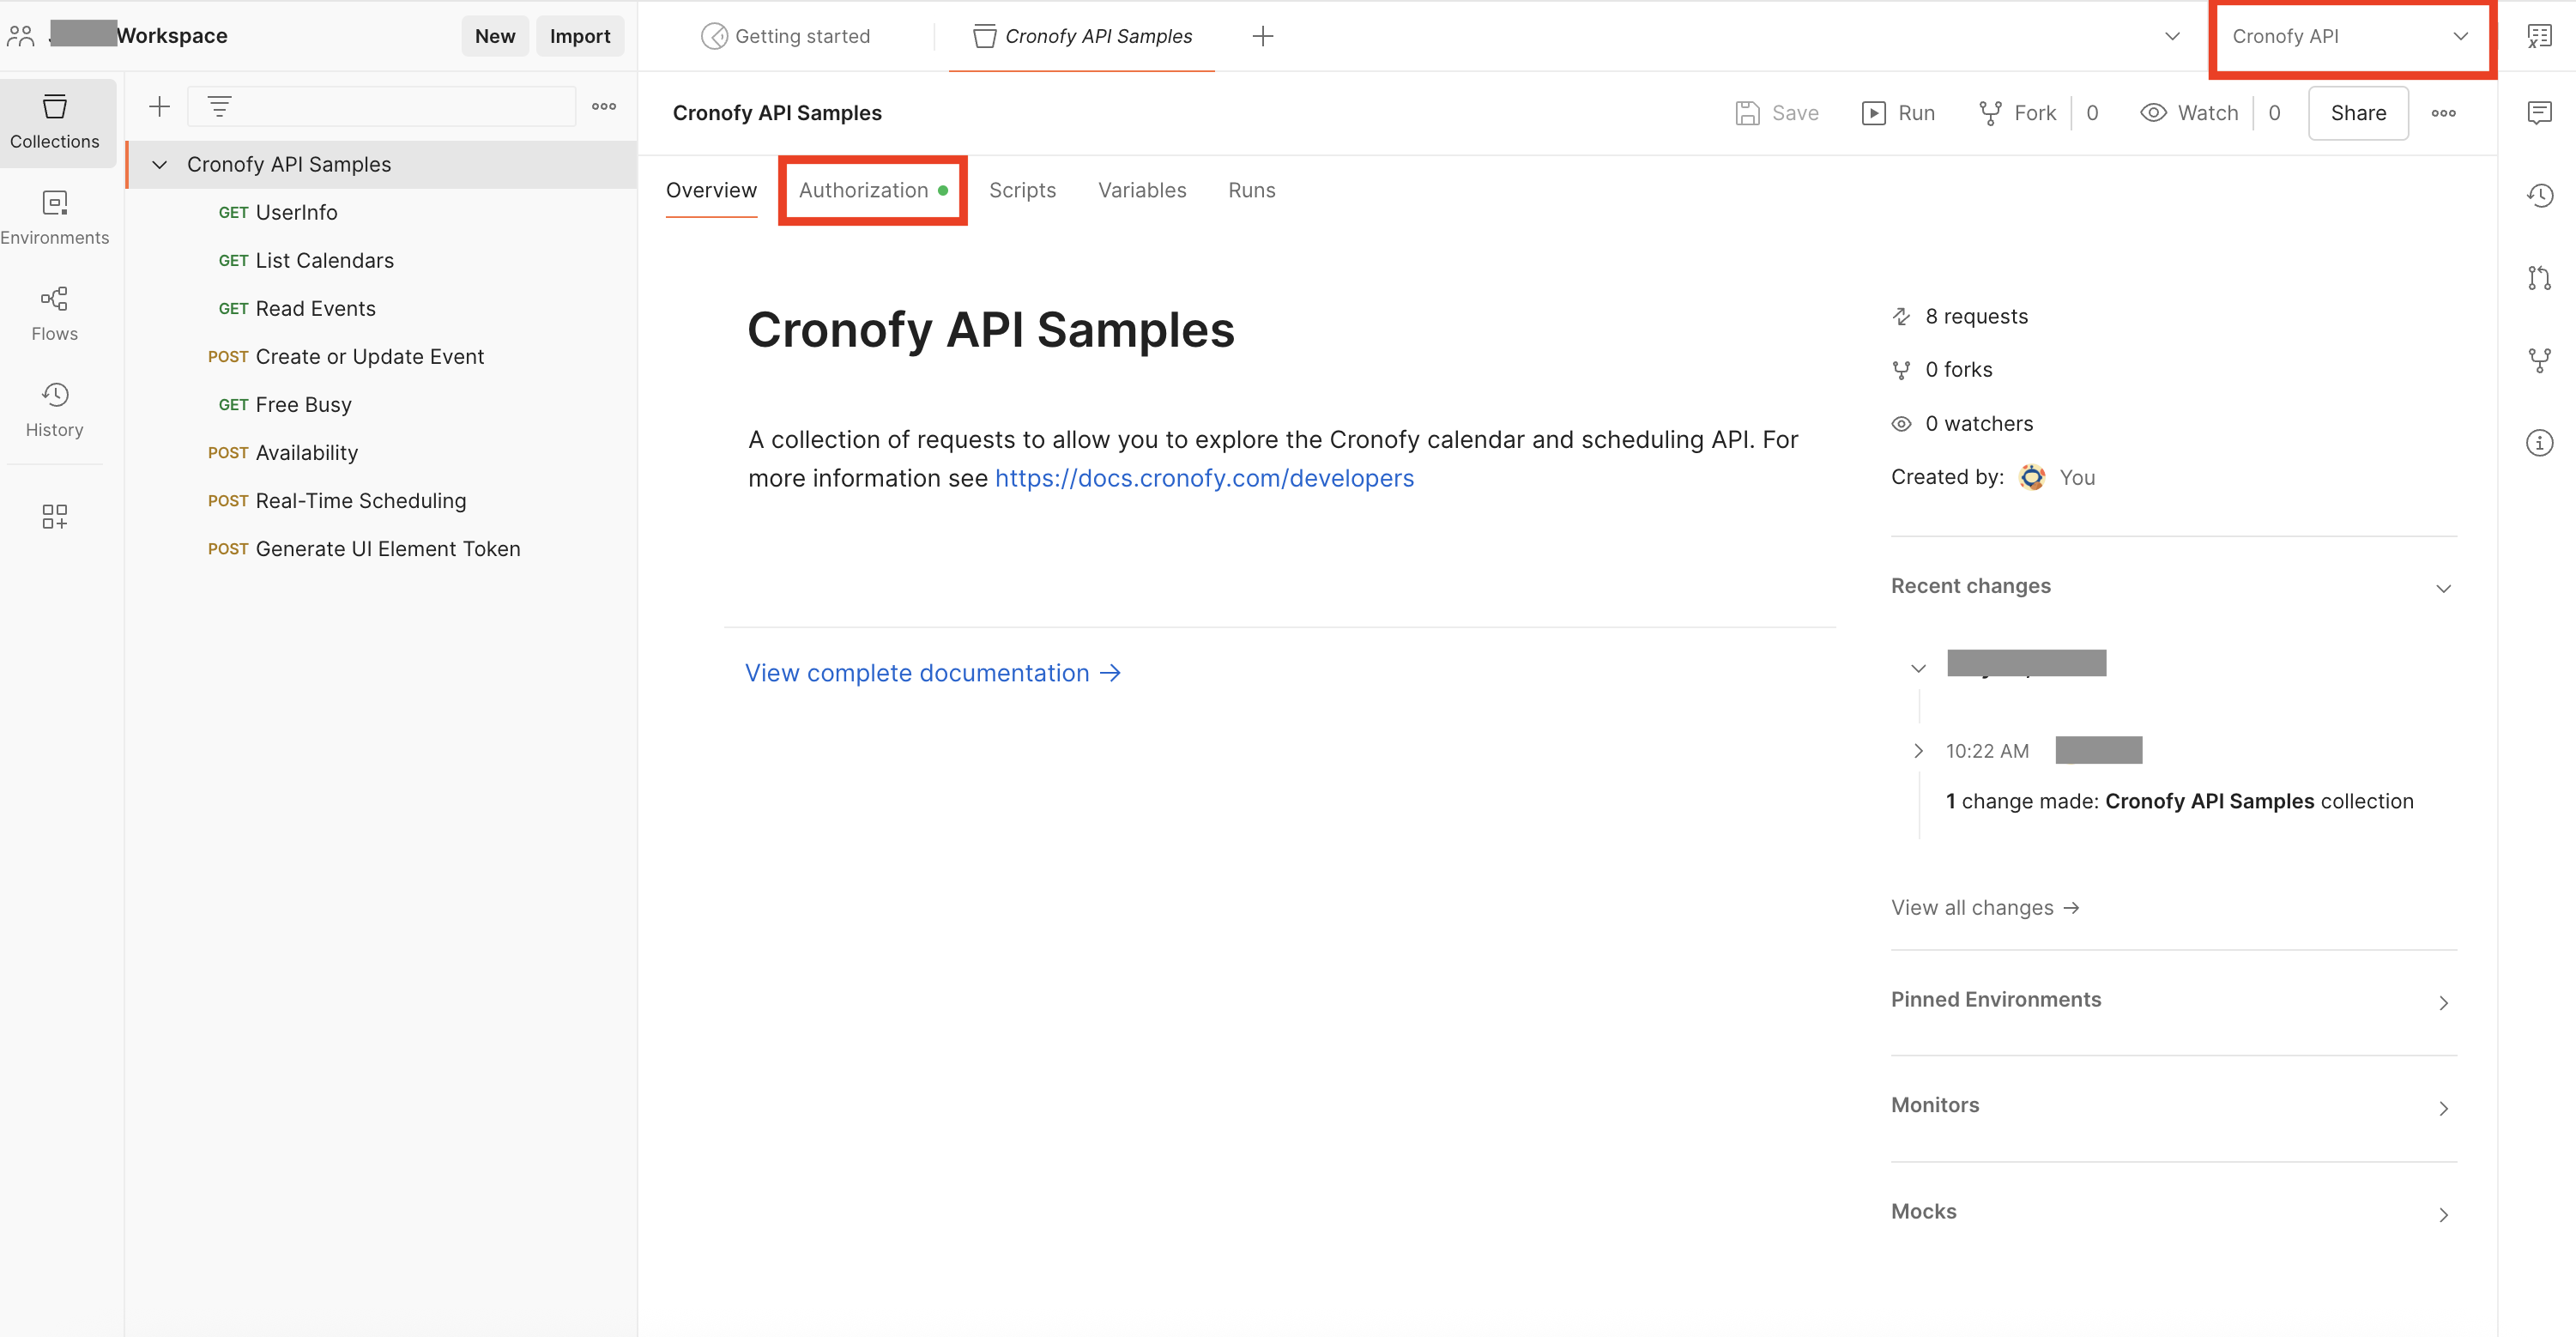
Open Postman and create a Cronofy API Environment (how to create an Environment in Postman). Update the values of the client_id and client_secret variables with the ones for your application.
Once completed, open the Cronofy API environment in Postman and click on the Authorization tab.
3. Generate an access_token #
You can use Postman to generate an access_token to work with your calendars.
In the Authorization Tab, fill the Configure New Token fields with the values described below.
Then switch to the Authorization tab. Choose the Auth Type as OAuth 2.0.
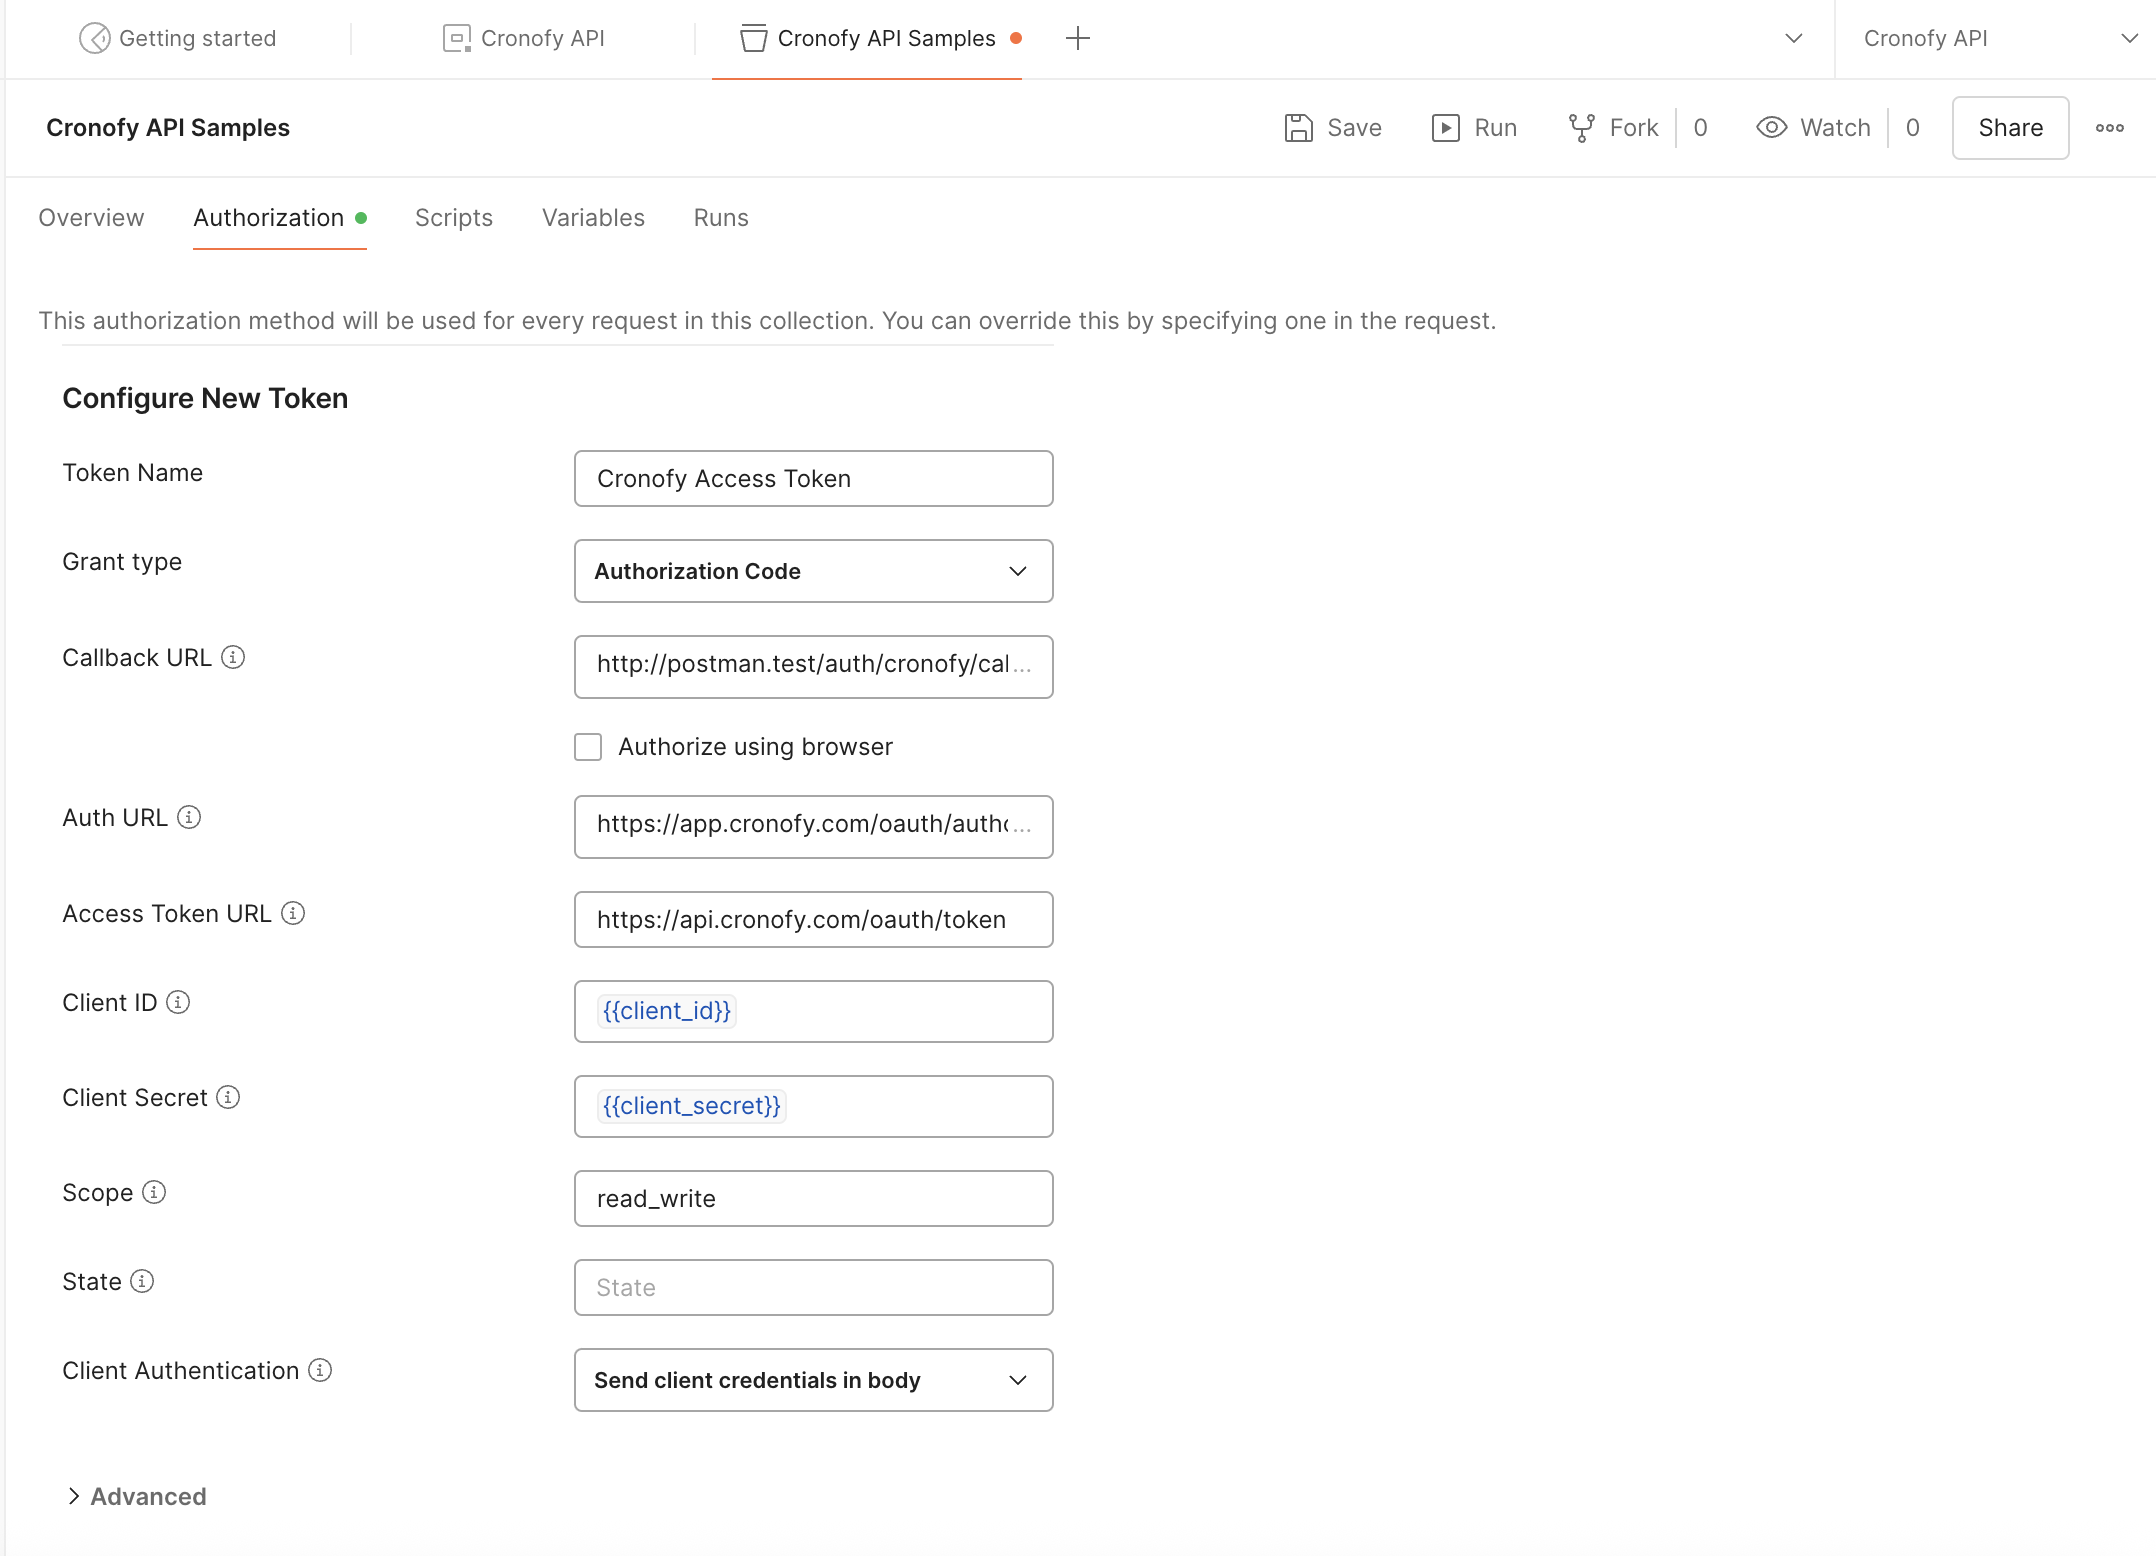
- Token Name -
Cronofy Access Token - Grant Type -
Authorization Code - Callback URL -
http://postman.test/auth/cronofy/callback - Auth URL -
https://app.cronofy.com/oauth/authorize - Access Token URL -
https://api.cronofy.com/oauth/token - Client ID -
{{client_id}} - Client Secret -
{{client_secret}} - Scope -
read_write - State - can be left blank
- Client Authentication -
Send client credentials in body
Click Get New Access Token and complete the authorization.
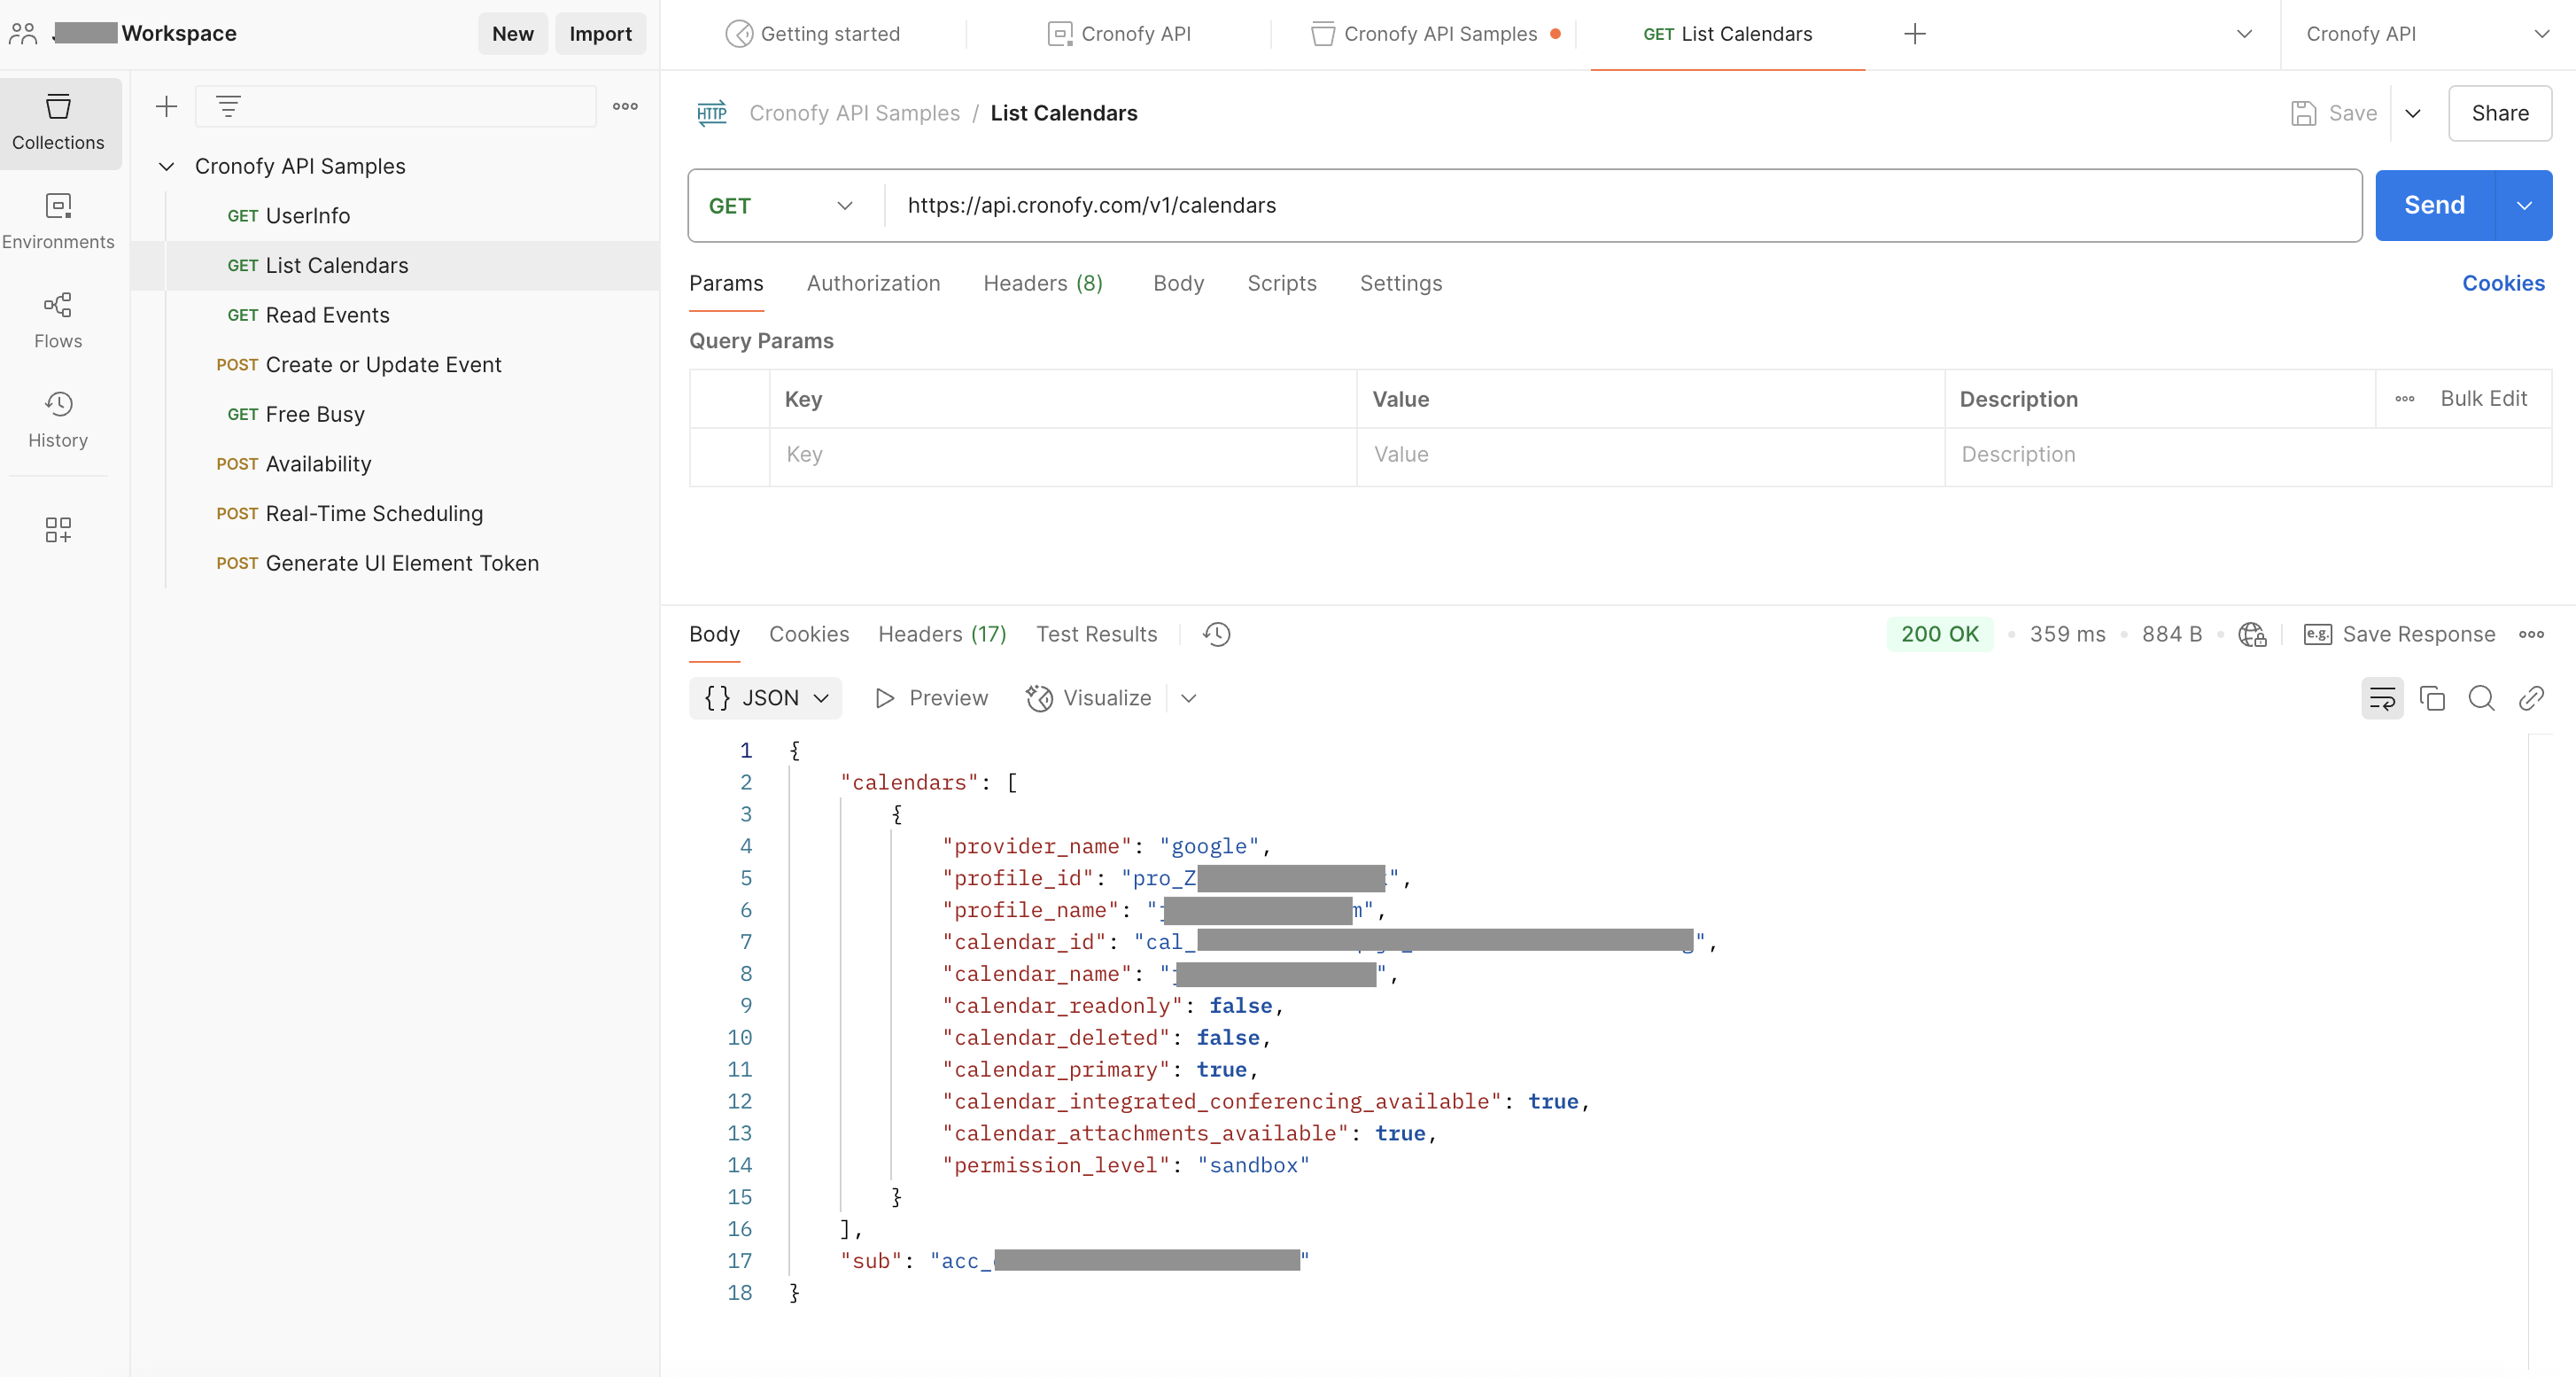
4. Make your first API call #
Now that you have an Access Token, you can make your first API call. List Calendars is a good place to start. This will show you a list of calendars from the connected calendar account.