Installation for Office 365 Users
Installing Cronofy for Office #
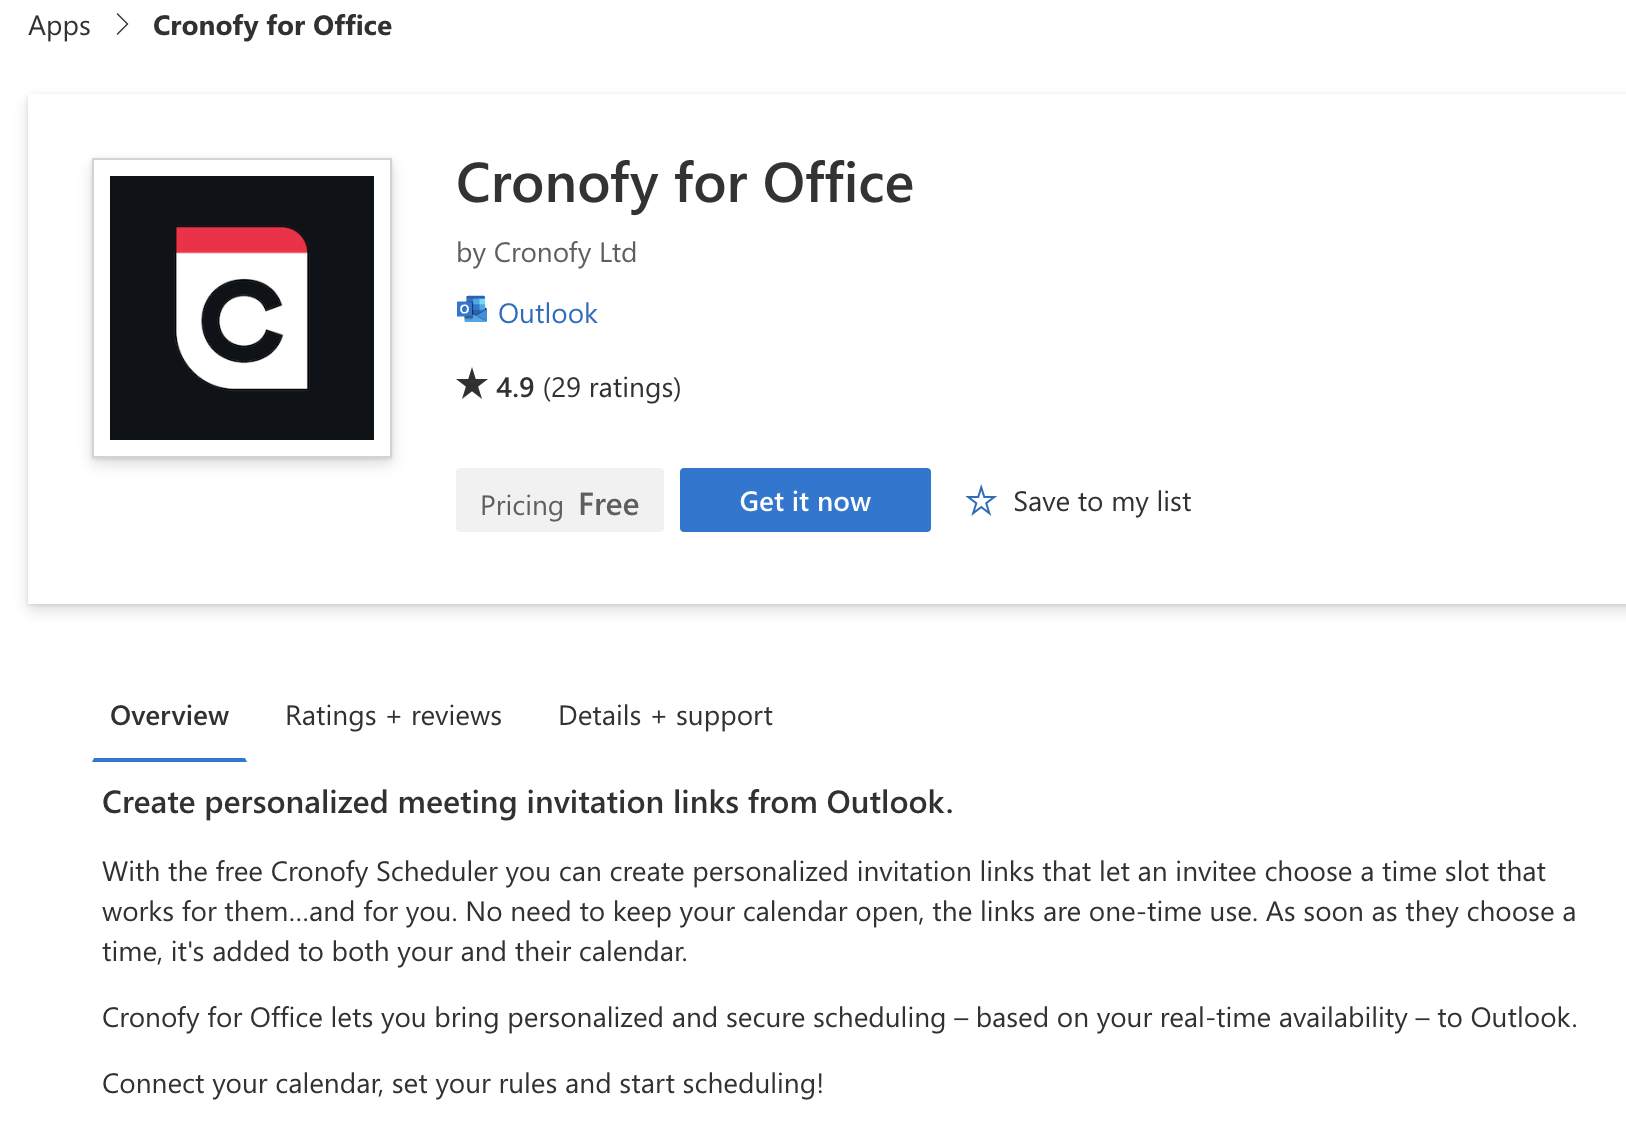
Cronofy for Office can be installed through the Microsoft Appsource page or directly from your inbox.
Install from Microsoft Appsource #
You can access the Cronofy for Office add-in on the Microsoft Appsource page and click “Get It Now”

If you’re not already signed in to your Office 365 account on your browser you will be prompted to do so.
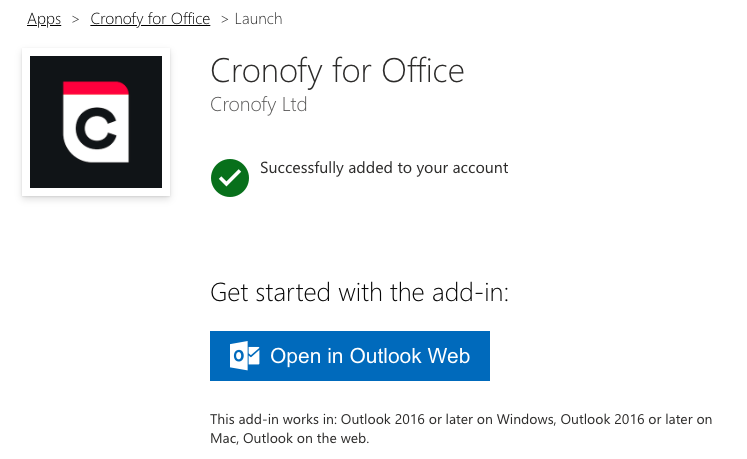
You will be asked to agree to the connection once you are signed in. You will then be taken to a page confirming the Cronofy for Office add-in was successfully added.

Now, you just need to click “Open in Outlook Web” or head to your inbox to get scheduling!
Install from your Inbox #
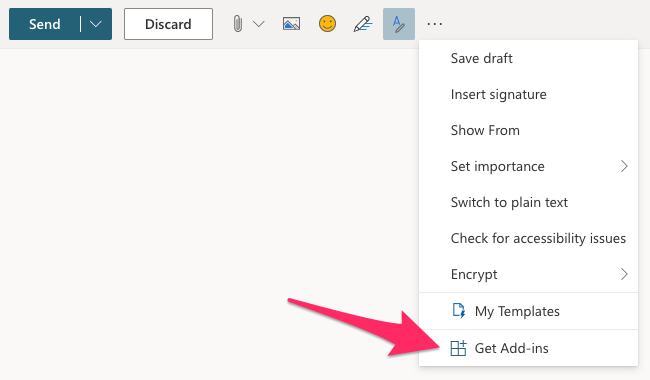
You can also install the Cronofy for Office Add-in from you inbox by opening a “New Message” and select these three dots.

From the drop-down select “Get Add-ins”.

Use the search box to locate and select Cronofy for Office. This will present you with a pop up page for the Cronofy for Office Add-in.

Click “Add” and the Cronofy for Office Add-in icon will automatically be added. You will find the icon on the page when composing an email.
Removing the Cronofy for Office Add-in #
If you no longer want the Cronofy for Office Add-in you can remove it with a couple of clicks.
Click “Get Add-ins” from the drop-down.

Search and select “Cronofy for Office”.

On the pop-up page click “Remove” and the Add-in will be automatically removed.