Custify
Read as MarkdownCustify is customer success software for SaaS companies. A key part of its offer is ensuring timely and personalized communication happens between customers and their assigned success manager.
With the Cronofy Custify integration you can automatically generate booking links as part of mail merge templates that are fully personalized to both the customer and their assigned success manager.
When a customer visits their link, Cronofy will retrieve the assigned CSM from Custify and then generate a Scheduling Request using the CSM’s scheduling preferences.
This documentation will show you how to set up the integration and incorporate personaized booking links into your Custify email templates.
Setup the Custify Integration #
Log in to Cronofy and navigate to [Your Company] Settings > Integrations > Setup New Integration
Choose Custify from the list.
This will create an empty integration. You now need to get the API details from the Custify.
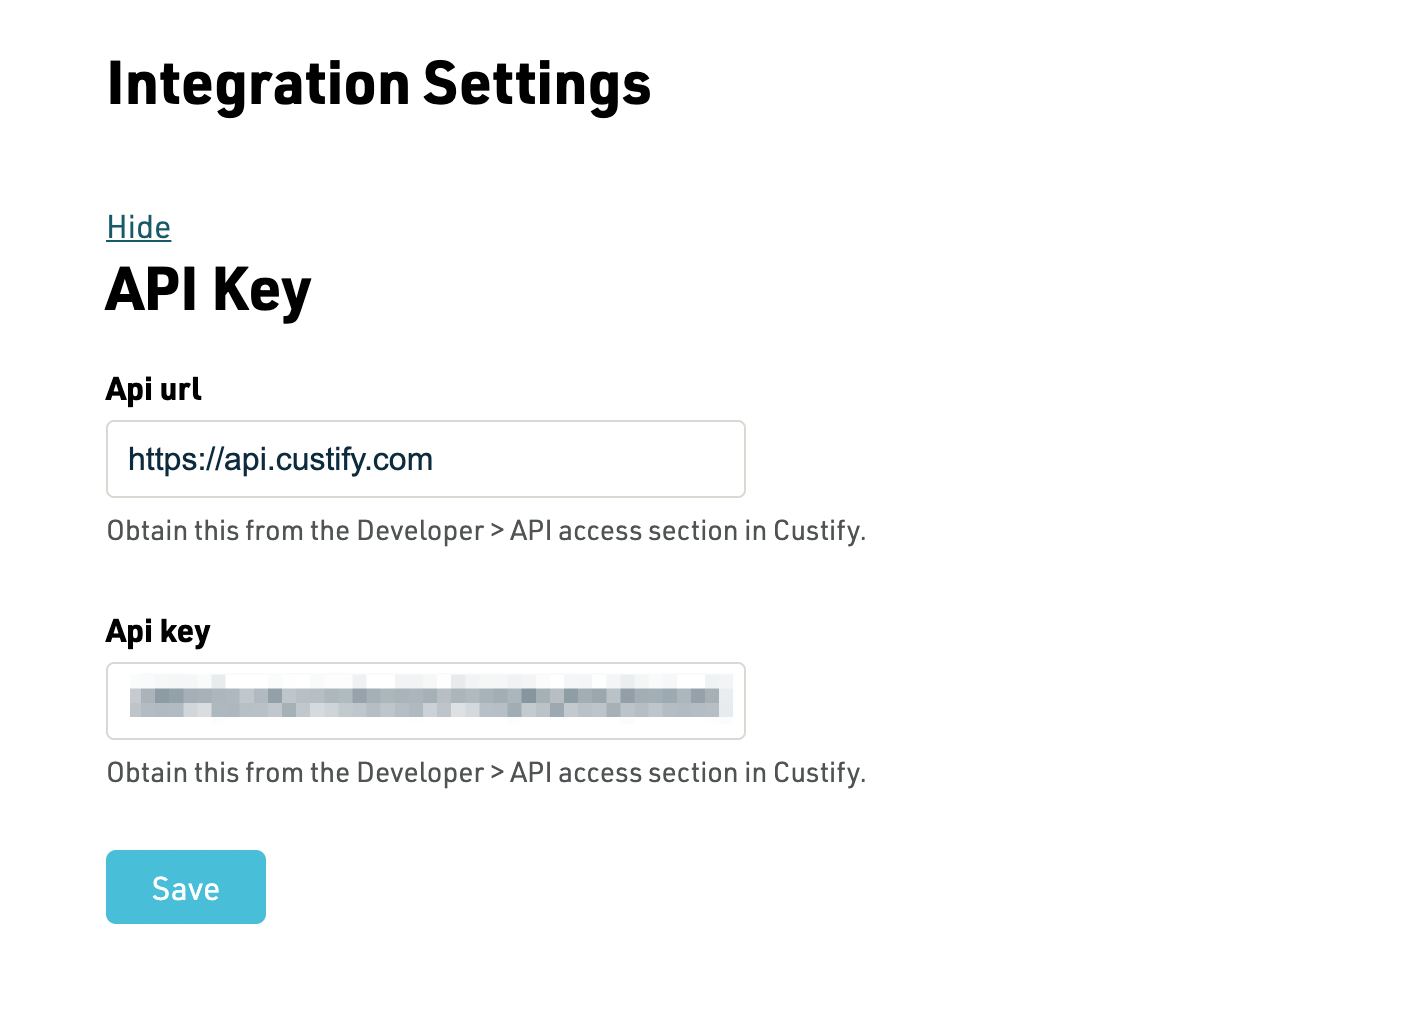
In Custify, navigate to Settings > Developer > API Access. Copy the API URL and API Key values and paste them into the appropriate
fields in the Cronofy Custify Integration page and click Save.
Setup the Scheduling Trigger #
A Scheduling Trigger called With CSM will have been created once the Custify API settings have been added.
Clicking through will give you the details for trigger.
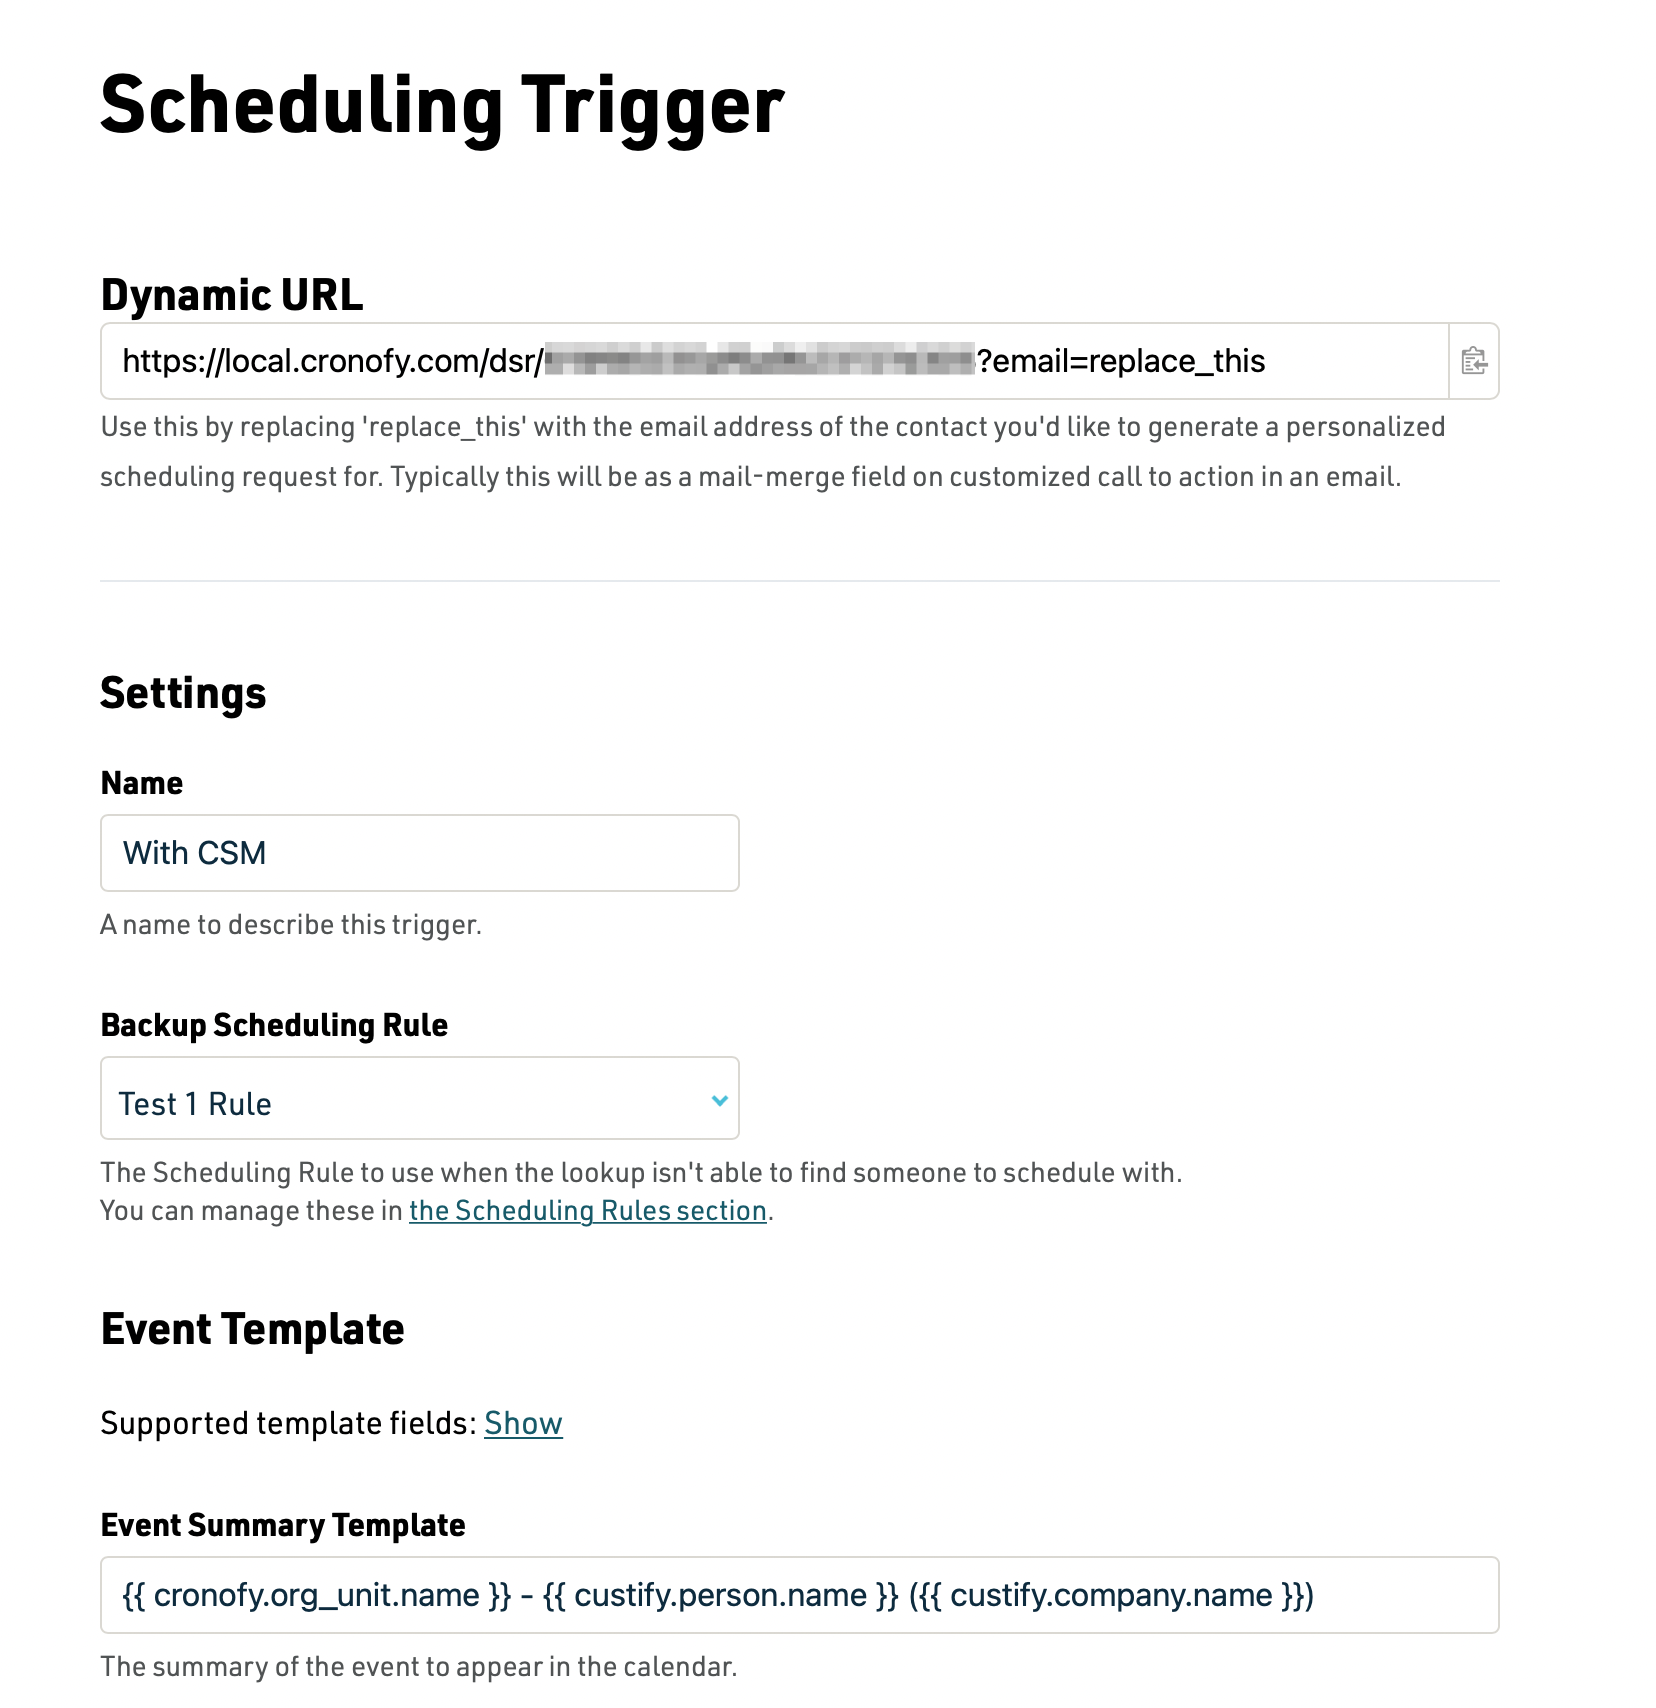
The Backup Scheduling Rule is used in situations when the CSM can’t be found in Custify. It is recommended that you create a Scheduling Rule that picks from a pool of CSMs or other team members to ensure that the customer can book a call.
On this screen you can also amend the event that gets created in the CSM’s calendar, which the customer is invited to, with mail merge fields from Custify and Cronofy to make sure everything is personalized correctly.
Create the Email Template #
At the top of the Scheduling Trigger page is the Dynamic URL. This is the URL you need to use in your email templates in Custify.
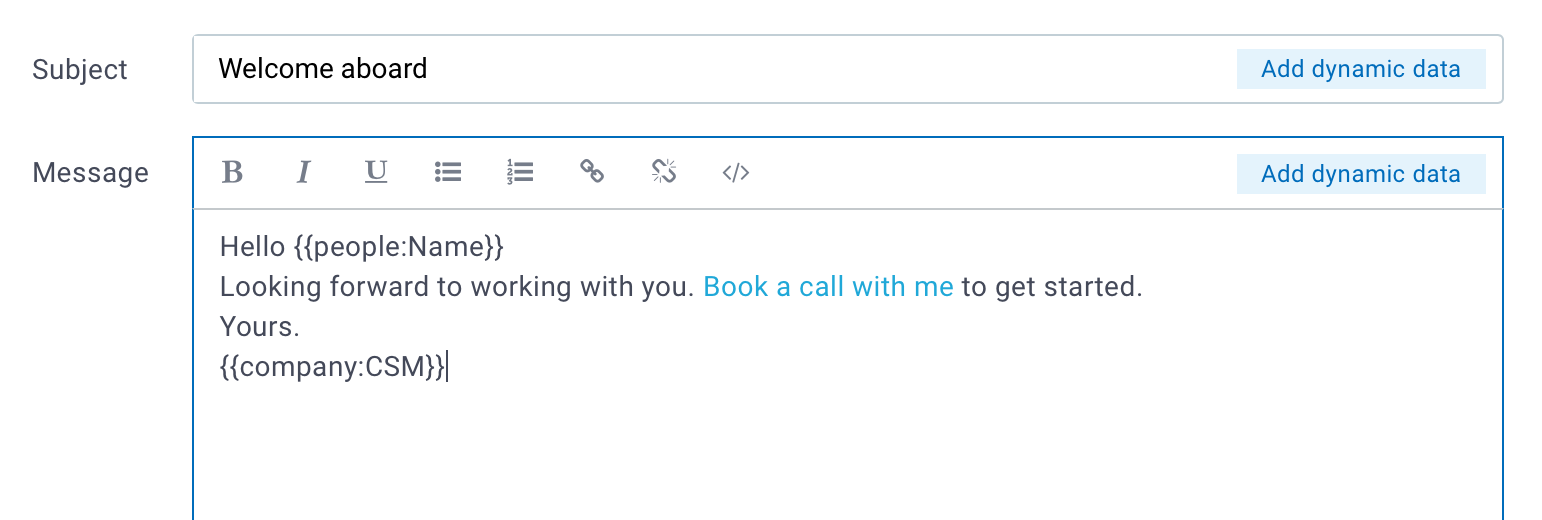
Open the email editor for the playbook step.
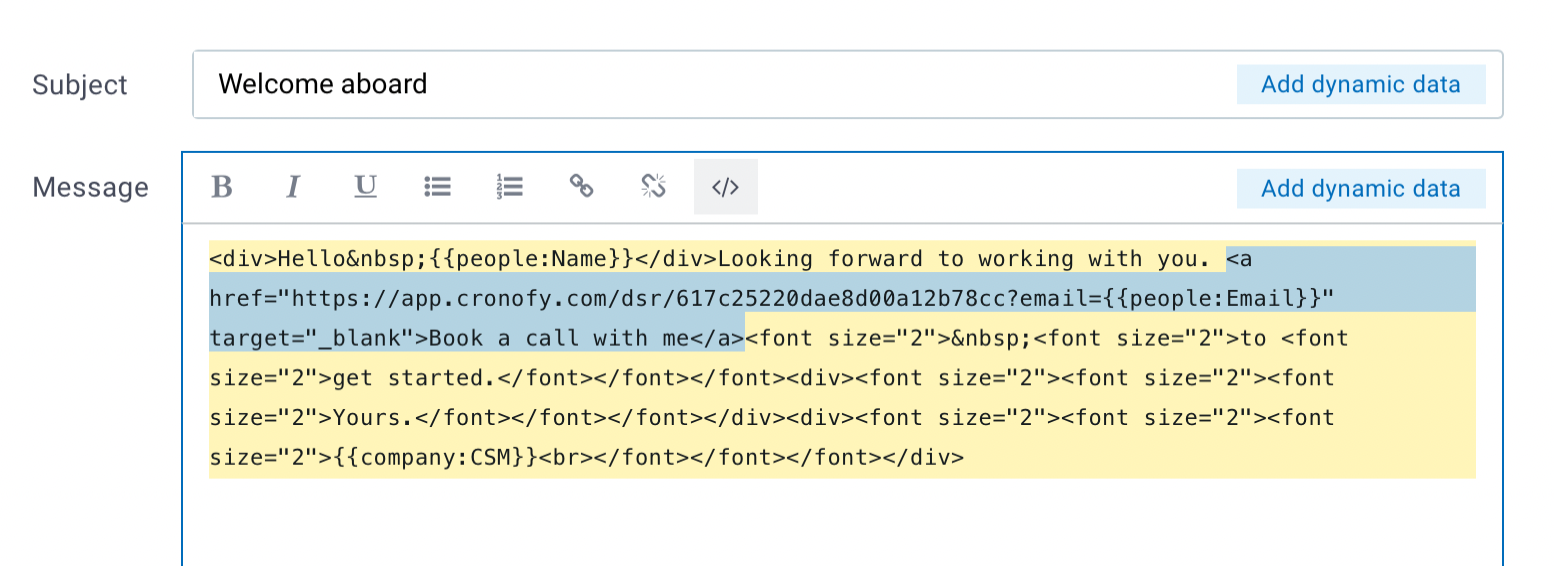
You need to create a link with the Dynamic URL and swap replace_this with the email address of the customer. In this example we’re using the {{people:Email}} dynamic data field.
<a href="https://app.cronofy.com/dsr/6146ff174b99321c809823458?email={{people:Email}}" target="_blank">Book a call with me</a>You can create this link by switching to HTML mode.