Gmail
Read as MarkdownIf you are a Google Workspace user and have the Chrome Scheduler Extension you will also have access to Gmail integration icon when writing your emails.
To find out more about the Chrome Browser Extension click here.
The Scheduler Google integration automatically adds your invitation link straight in to your email.
Write your email and place you cursor where you want the link to be added, then click the Cronofy symbol.
Creating your invitation link
To create your unique invitation link you’ll need to complete the three sections in the Scheduler form.
Who are you scheduling for? #
Event Host
The “Event Host” will automatically populate with your email. However, you can click on the “Change the host” icon to select another member of your Organizational Unit as the host of the meeting.
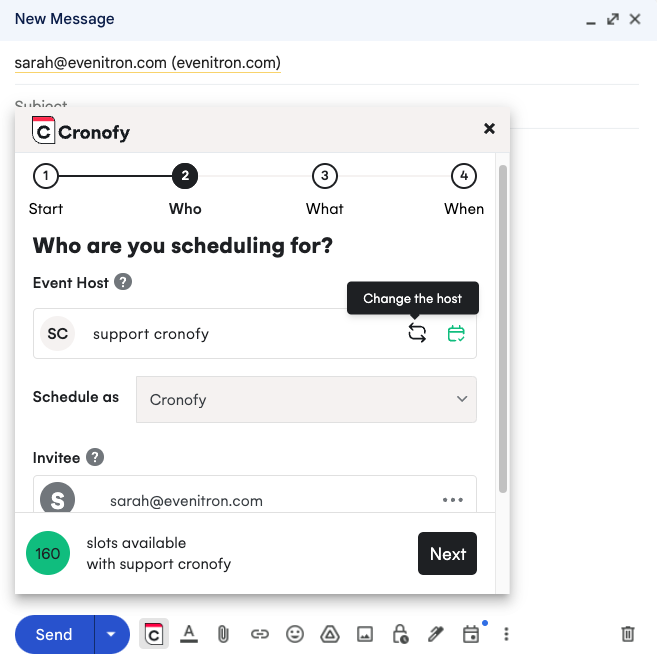
Attendees
The “Attendees” section will automatically populate your customers’ information from your email as the “Invitee”. Any other attendees can be added in the “Other attendees” section.
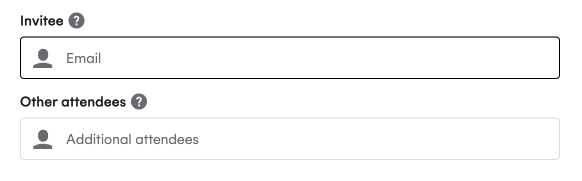
You can access all users in your Organizational Unit to insert as attendees.
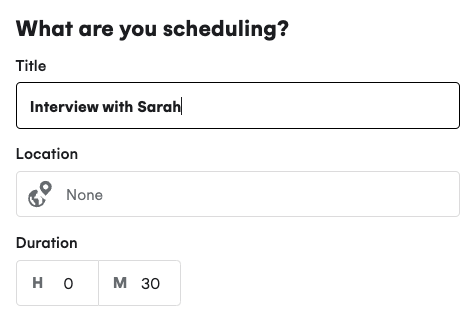
What are you scheduling? #
Here you add the details that structure your event.
The “Title” will auto-populate with yours and your invitees names. This field is editable and you can change it to suit your event.
Add a location if required and select the desired duration.
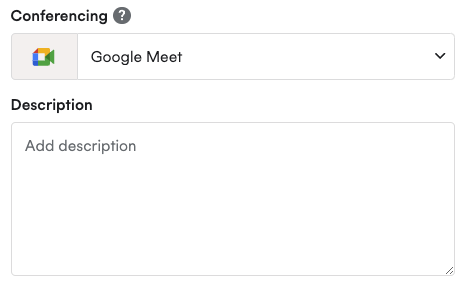
You can choose which conferencing service to use for your event, giving you the capability to personalise the invite as per your invitees preferences. If you can’t see your desired conferencing service, then check out how to update your preference.
You can add a summary which will show as a description that will show in the calendar event.
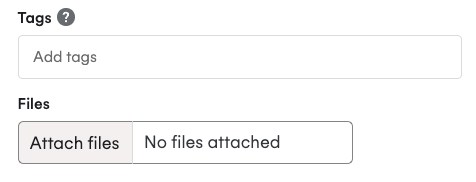
Finally, you can add tags and files to attach to the event. Tags can help you to find related requests and are used by some integrations.
When will they be able to choose? #
When selecting available slots for your invitee, you can choose between either the “Working hours”, “Custom hours” or “Specific slots”.
Working Hours
This option respects the working hours you selected when setting up your Preferences. It will accurately reflect your availability and grey out times where you are already busy.
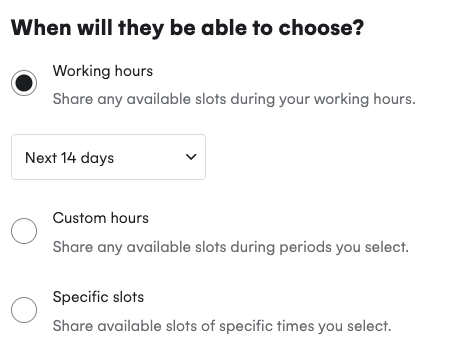
From the drop-down you can select the number of days in advance you want your invitee to be able to choose from. This will also provide you with an overview of your availability.
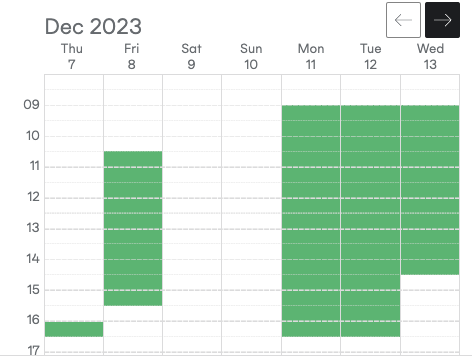
Custom hours
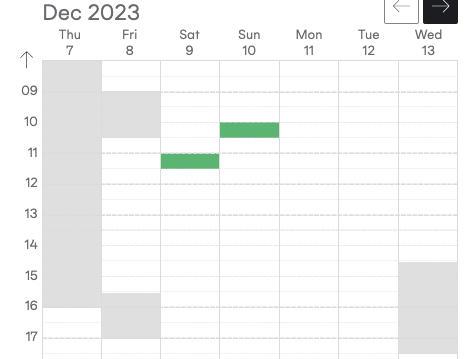
The “Custom hours” option allows you to click and drag to select specific times you’d like your invitee to be able to choose from.
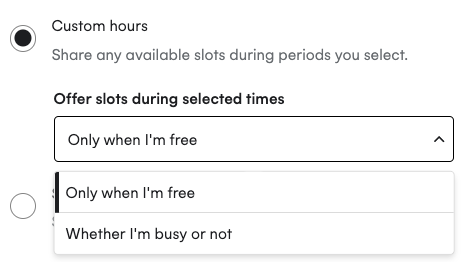
You can decide if you want your availability to be considered by selecting from the “Offer slots during selected times” dropdown. If you select “Only when I’m free”, we will still check your availability and if you have a busy slot this won’t be presented during slot selection.
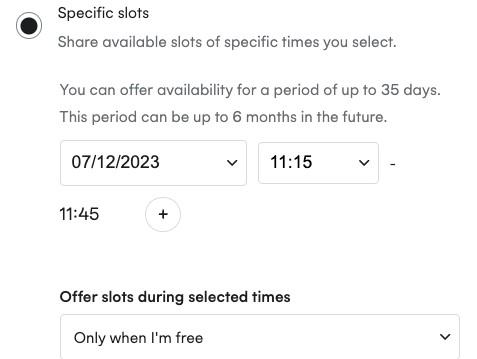
Specific slots
The “Specific slots” option allows you to specify individual slots you’d like your invitee to be able to choose from. You just input the date and time of the slot and this will be presented in the link.
You can offer availability for a period of up to 35 days. This period can be up to 6 months in the future.
When you’re happy with the details in the invitation, hover over the blue Cronofy icon, it will expand into a “Create invite link” button.
Click the button and your unique invitation link will auto-populate in the response box.
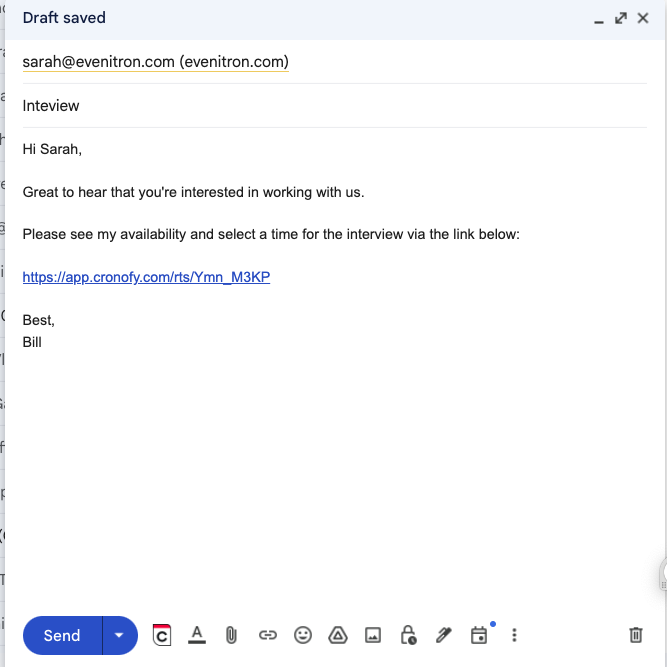
Your message is now ready to send and your invitee will be able to schedule in that call at a time that works for both of you.