Microsoft Copilot Agents
You can add Cronofy to your Microsoft Copilot Agents to allow access to the power of Cronofy’s scheduling from within Copilot chat and Copilot Agents.
This allows you to create booking links to send to people, find times that work for meeting of several people, as well as choose a time. For example:
Suggest times for einstein@example.com to meet with doc@hillvalleyscience.com and marty@hillvalleyscience.com to talk about The Dance.
or
Create a booking link with the Screening Interview template for a.candidate@example.com
Pre-requisites #
- You will need some familiarity with, and a licence for, Microsoft Copilot Studio
- A Cronofy account with synced calendars, sign up
Creating your Agent #
If you’re completely new to Copilot Studio then this Microsoft Agent Quickstart Docs should help.
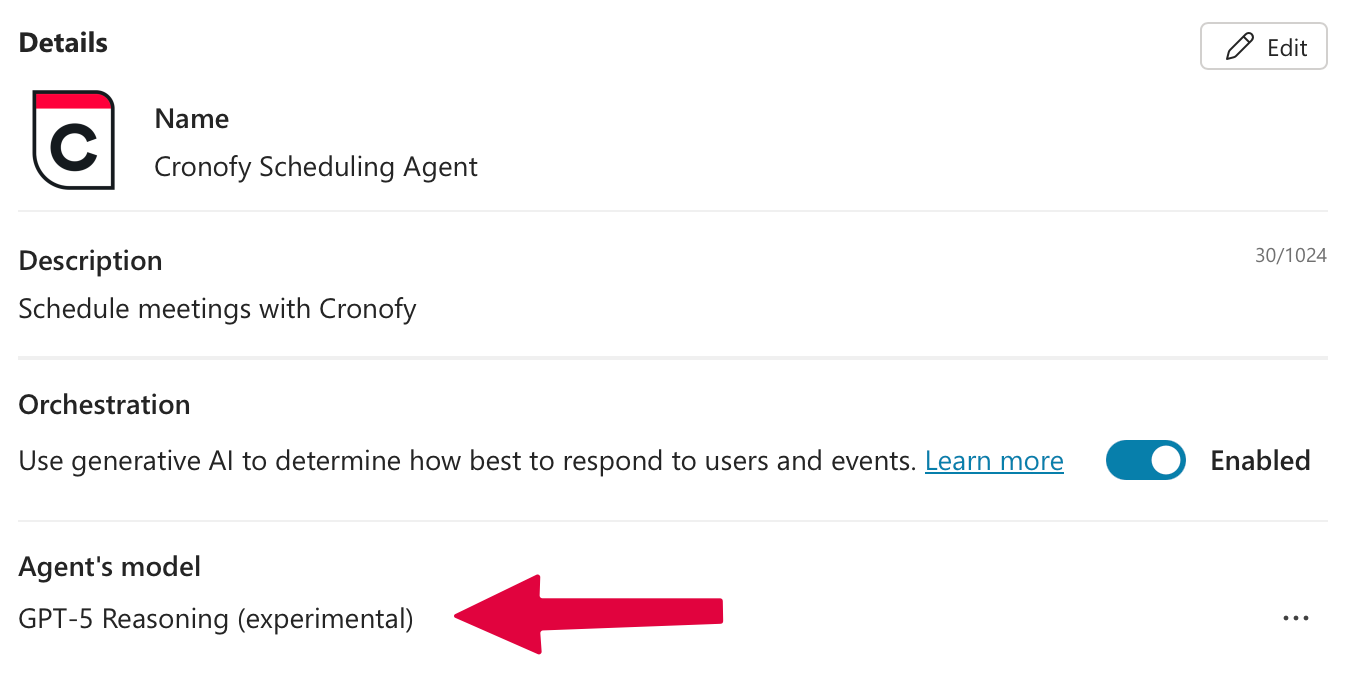
Once you have the Agent then one thing to consider is the AI Model to use. We’ve found that GPT-5 series models, and later, are the most reliable at interacting with advanced MCP Servers like Cronofy.
Adding Cronofy MCP to your Agent #
The Cronofy MCP Server is available as an approved Tool in the Copilot Tool Marketplace. Search for “Cronofy’ in the Add Tools dialog.
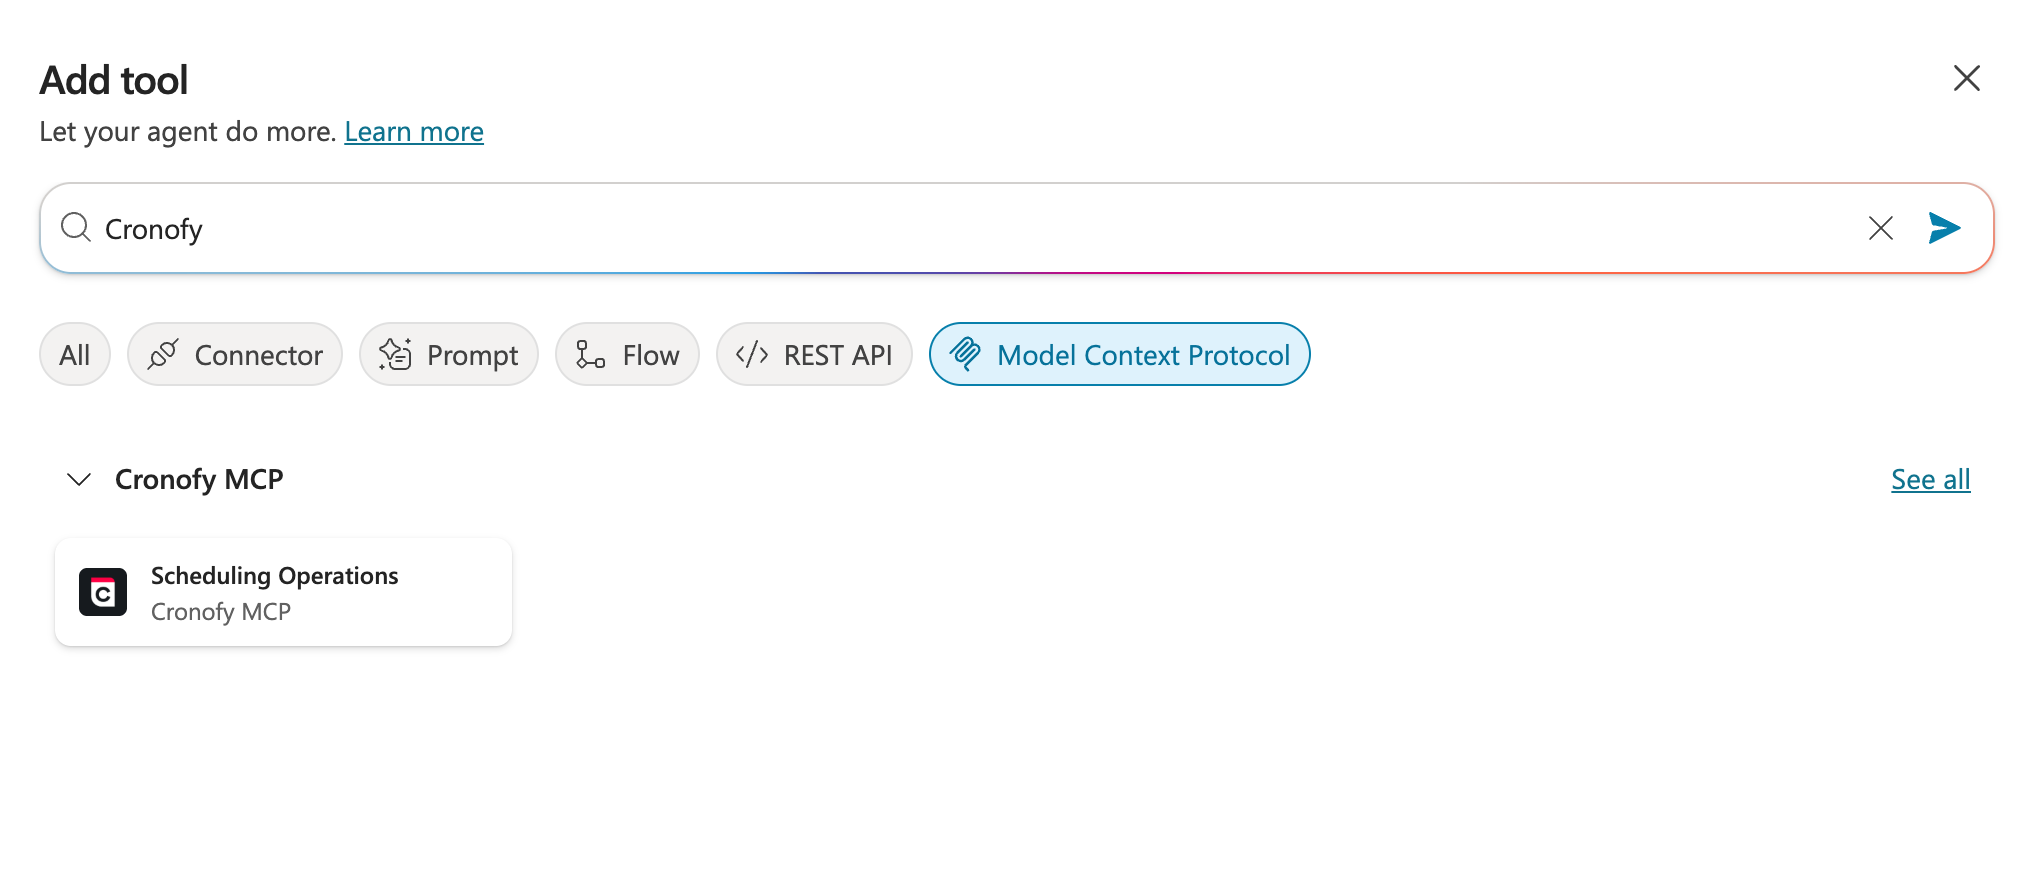
From there you will be presented with the options to configure the connection to Cronofy.
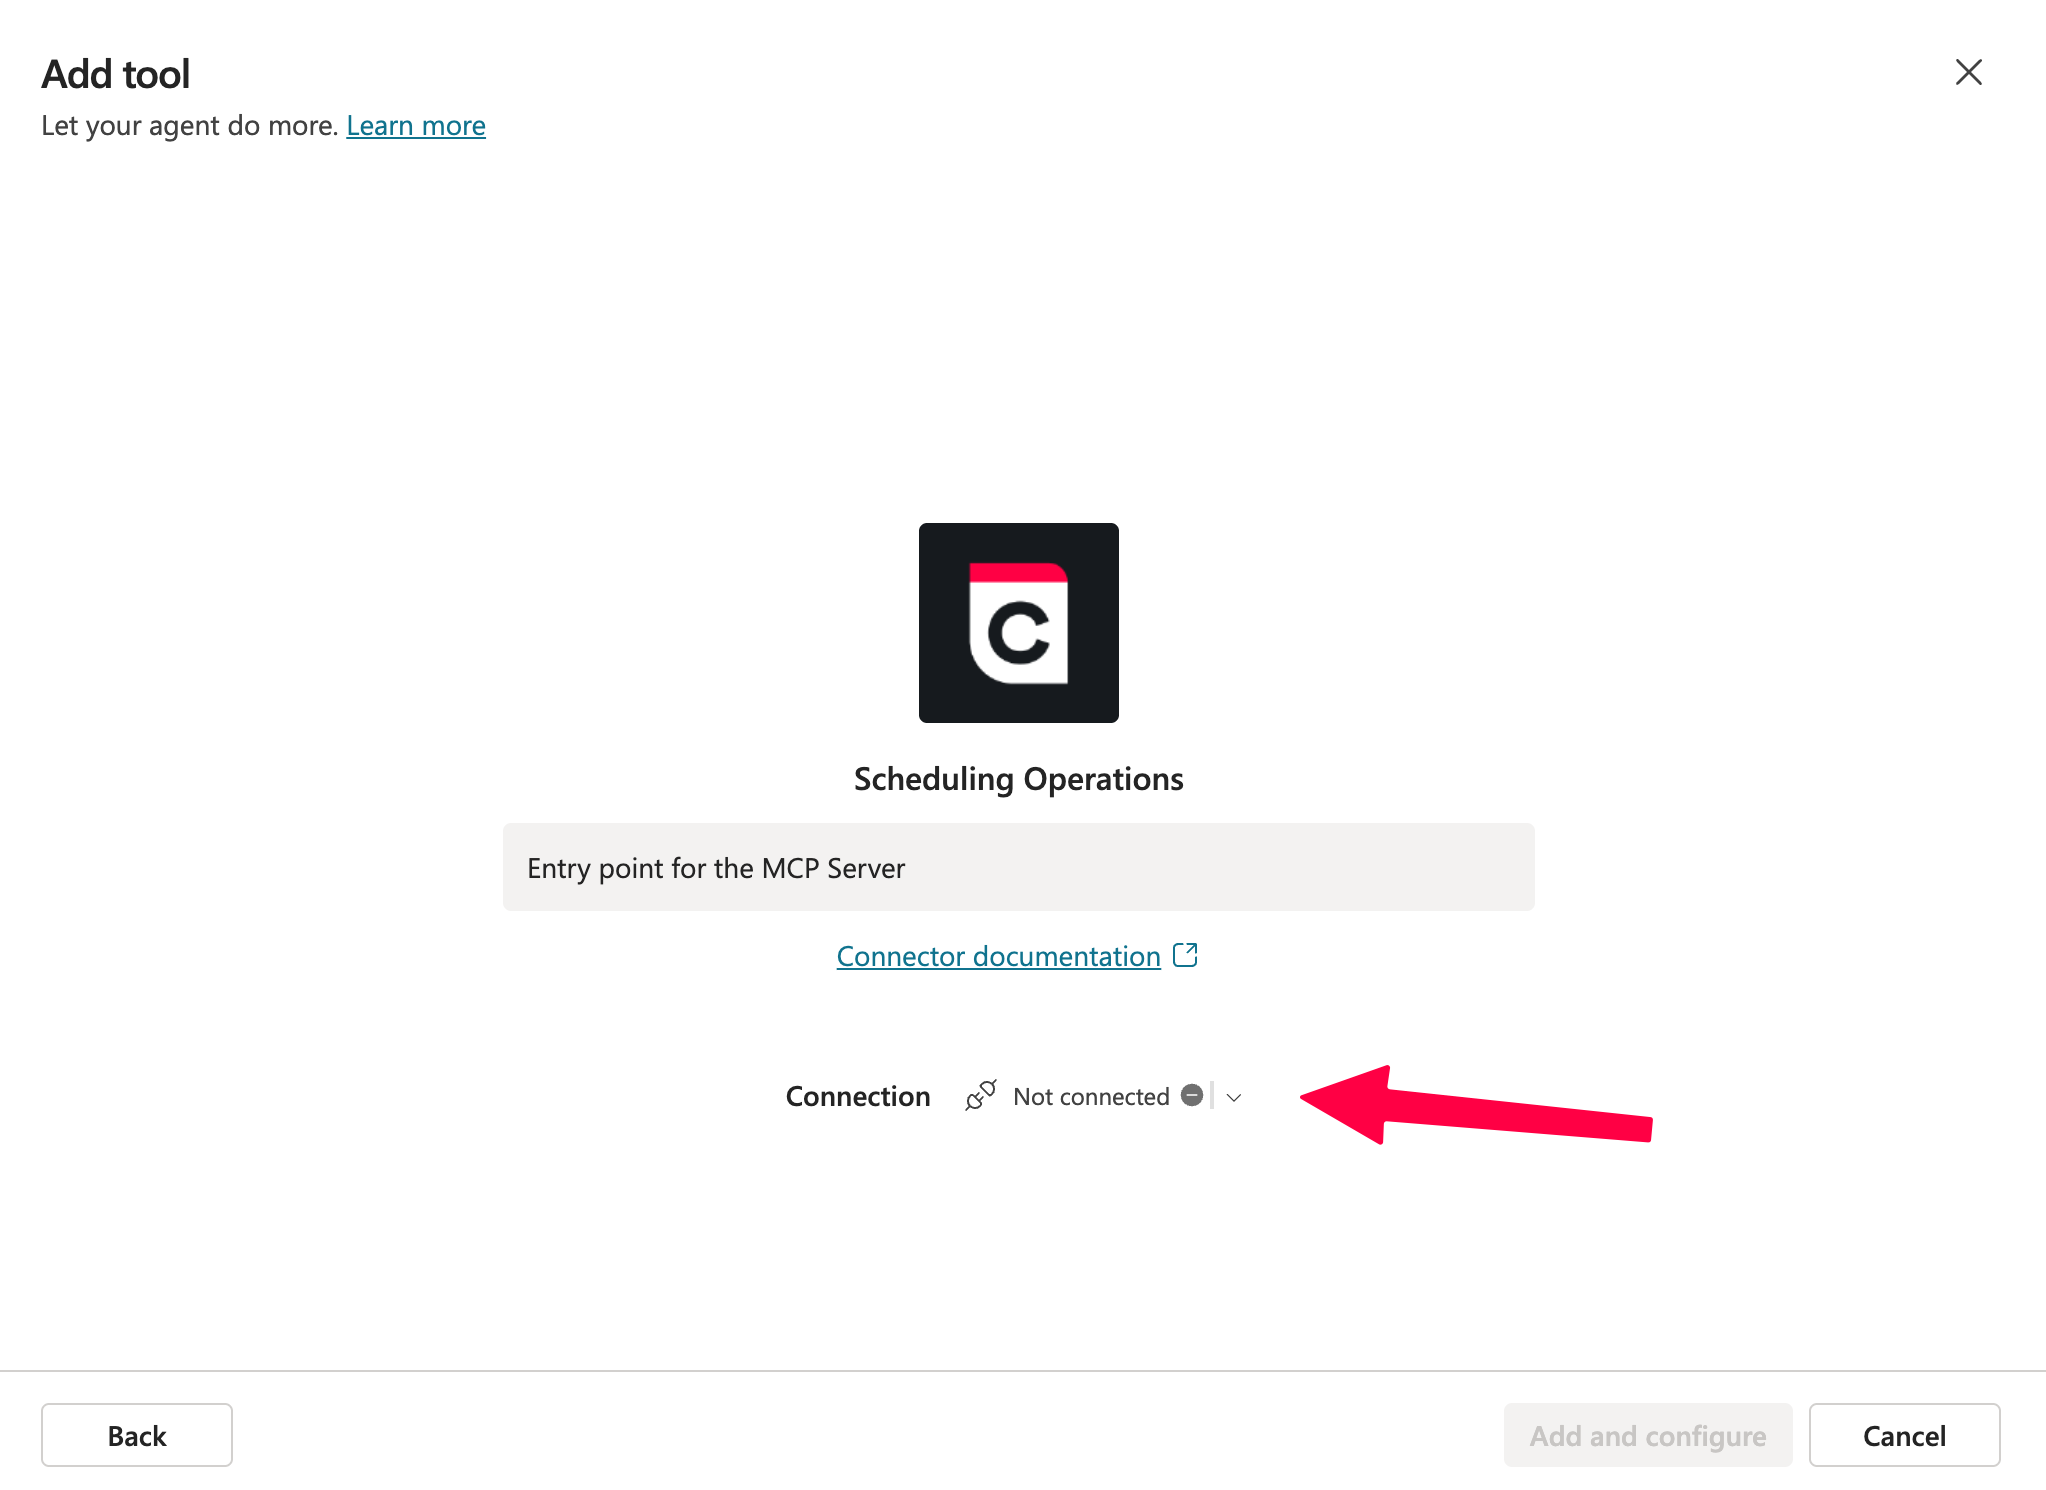
Follow the steps to create and a connection and authorize the Cronofy MCP Tool to access your Cronofy Organizational Unit.
And that’s it. Your Agent is ready to start scheduling.
Testing your Agent #
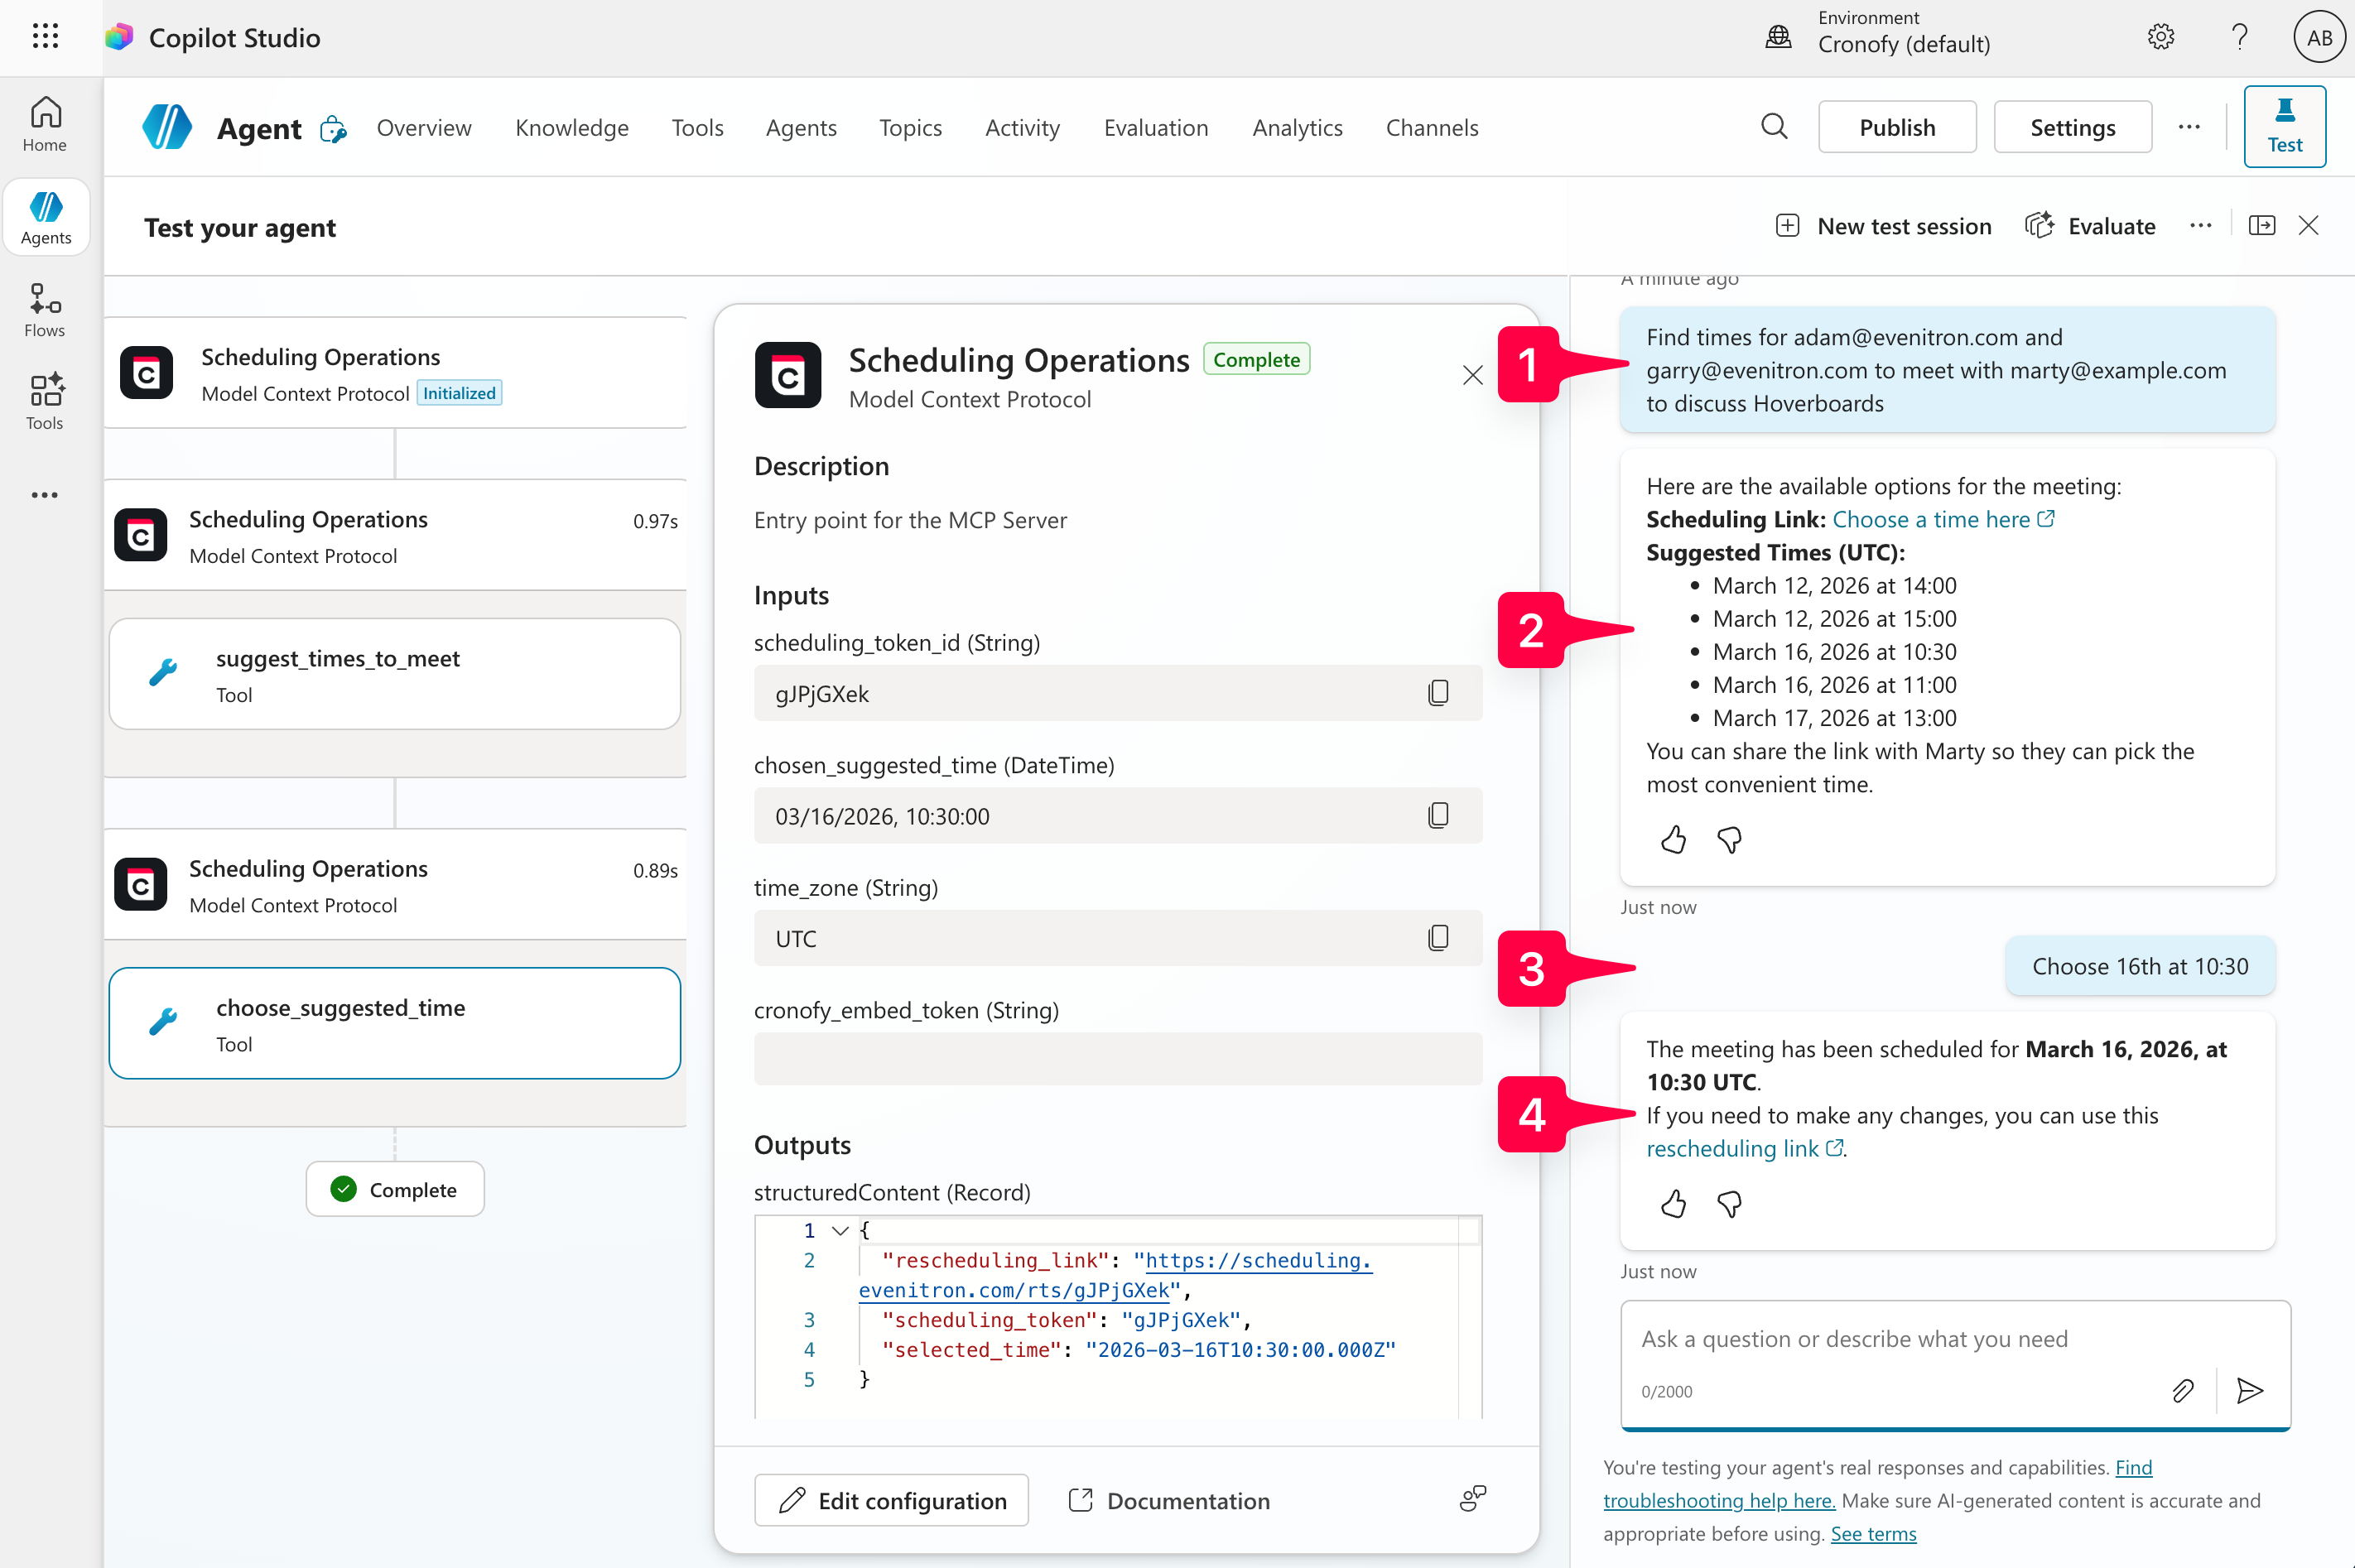
The screenshot below shows an example test session for the Agent. The Organizational Unit has connections to the calendars for people in the evenitron.com domain.
- Input
Find times for adam@evenitron.com and garry@evenitron.com to meet with marty@example.com to discuss Hoverboards - You can see in the left hand side how the Agent has translated that input into a call to the Cronofy MCP Server. That in turn has responded with a series of suggested times that work for both Adam & Garry.
- Input
Choose 16th at 10:30. - Again the agent as interpreted that request and mapped it back to a call to the Cronofy MCP server to book the selected time. It responds with both a confirmation and a rescheduling link that can be shared with
marty@example.com.
As you start to build out and test your agent it is likely that you’ll be having it orchestrate several tools to drive your workflow. For example adding the Outlook MCP Server will enable your agent to send emails on behalf of the current user that contain a booking link generated by the Cronofy MCP Server.
Get in touch with our support team if you want to set up a session to discuss what you’re looking to achieve with our technical specialists.