Automate scheduling when you progress a candidate in SmartRecruiters
Read as MarkdownThe Scheduling Triggers automatically send a scheduler link to the right candidate and interviewers outside of SmartRecruiters via an email template, when you move a candidate to a different interview stage in SmartRecruiters.
Create Scheduling Triggers #
In Cronofy, select your Organization Settings, then SmartRecruiters in the “Integrations” tab to “Create New Trigger”.
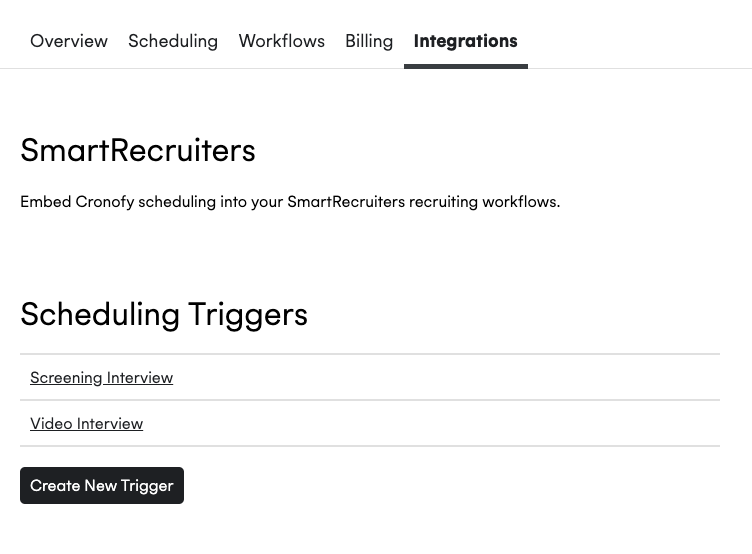
Choose an appropriate name, such as the interview stage you are looking to automate, then press Save.
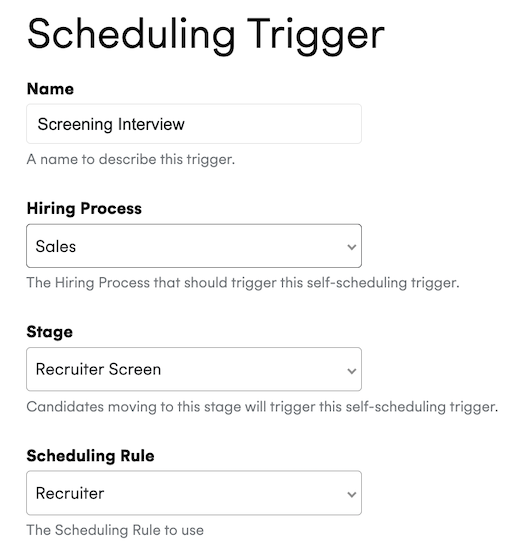
Fill out the remaining information as required:
- Hiring Process: The hiring process defined in Smart Recuiters.
- Stage: Select the stage in the Hiring Process that you want to automate with this trigger.
- Scheduling Rule: Select the scheduling rule that will be used for this particular stage (see below).
- Enabled?: Only tick this once you want to start using this trigger to automate new invitations.
Scheduling Rule #
The Scheduling Rule gives you two options for defining who the interview should be scheduled with.
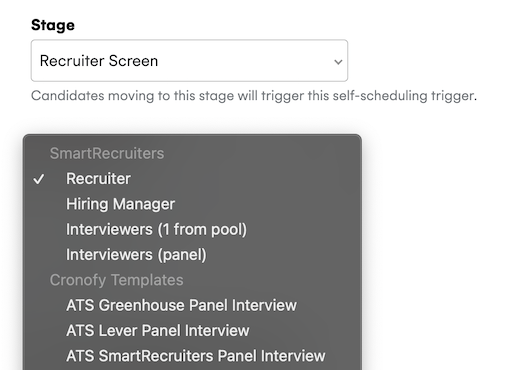
- You can choose to setup interviews with the interviewers described in the Hiring Process, or
- You can choose a Template defined in Cronofy to select a pool of interviewers, useful when you have more complex interview requirements such as a series of back-to-back interviews.
Next step: Customise the Event and Email Templates for your invitation as desired.
Event Template: Create a template for the Event Title and Description. You can use free text along with all supported template fields (Press Show to see all available fields). Ensure any fields you use are formatted as per the example:
{{ smart_recruiters.job_title }}.Email Template: Create a template for the Email Subject line and Body. You can use free text along with all supported template fields (Press Show to see all available fields). Ensure any fields you use are formatted as per the example:
{{ smart_recruiters.job_title }}.
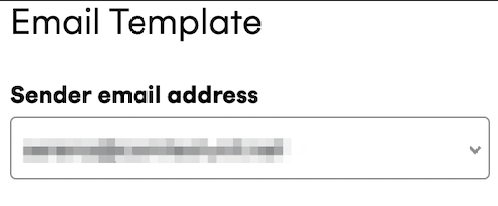
Sender email address #
You can choose to register a sender email address, so that your email templates are sent from a generic email address such as recruitment@company.com. This will make it easier to manage communication with candidates, should they reply to the templates.
Please get in touch with support@cronofy.com to request this - we will send you email from Amazon Web Services with a link to verifiy access to that email address, please make sure to click on the link within 24 hours.
Once done, the “Sender email address” will appear under “Email template” in the Scheduling Trigger, as shown below:
Next step: Don’t forget to press Save to finish creating the Trigger and test it.
Contact Us #
If you require assistance with following these steps, please reach out to our support team at support@cronofy.com or click the support widget on this page.