Creating Requests
When you’re happy with your preferences it’s time to start scheduling!
On the Scheduler page click “Create a new request” to start scheduling.
Please see our tutorial video below:
Invitee details #
Add the email address and name of the person you are inviting.
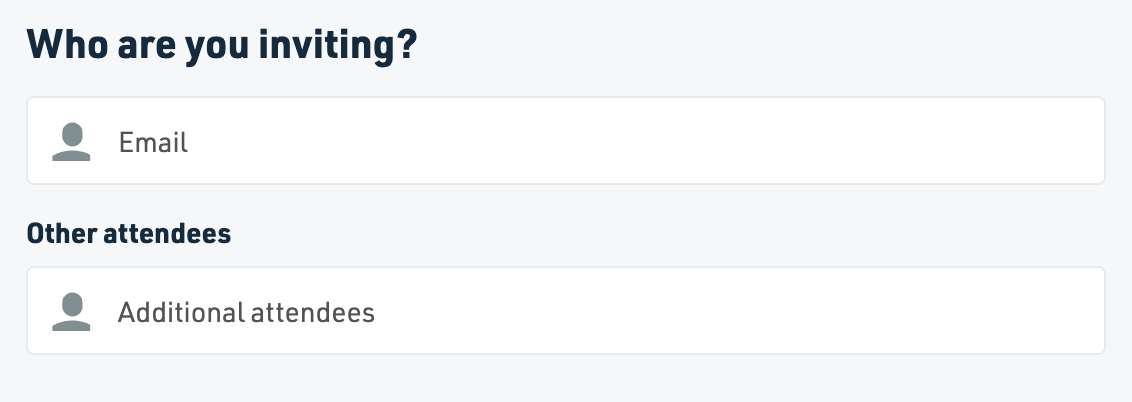
This will give you access to all users in your Organizational Unit.
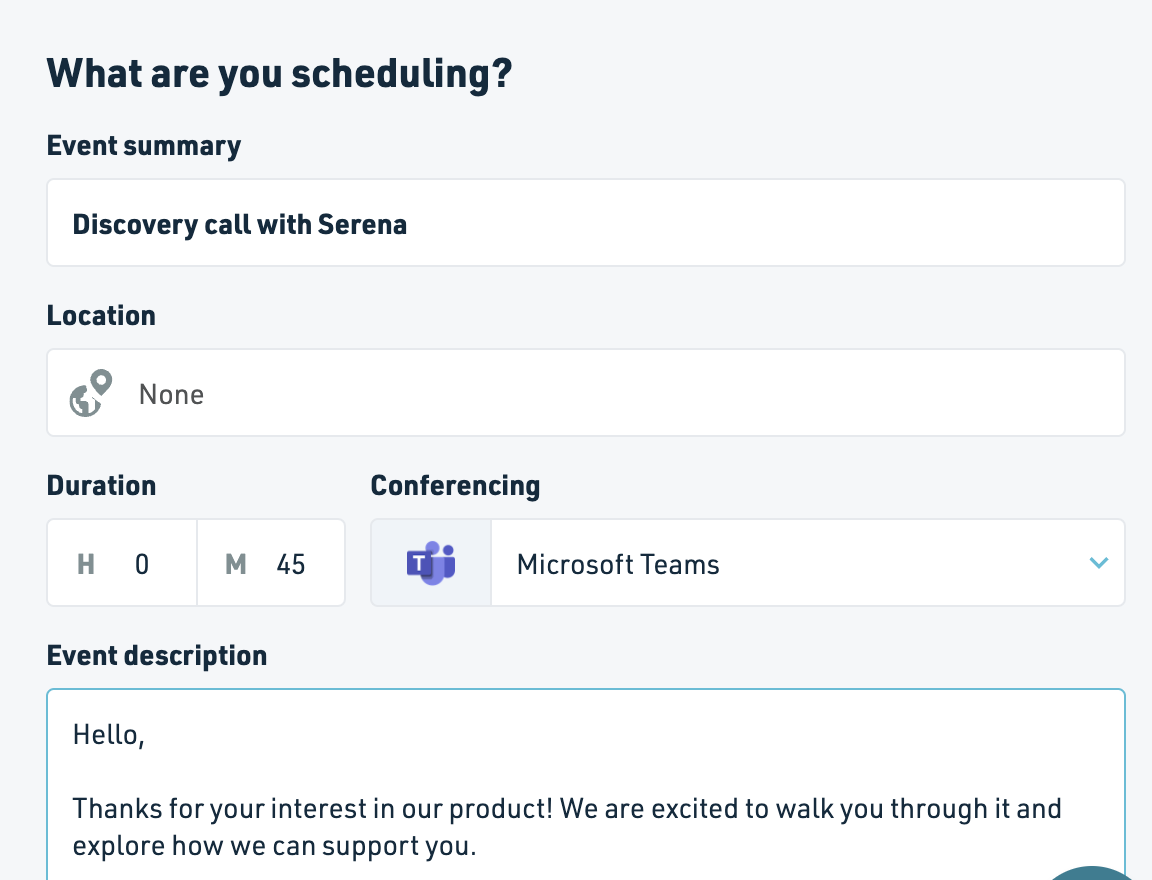
Event details #
The event summary gives your event a name and will be visible to your invitee.
The location allows you to set up a location for face to face events.
The scheduling preferences you will see in the request (location, duration and conferencing) are based on your default preferences in the Scheduler. However, you can tweak them in the request, for example, if you need to edit the duration of the event.
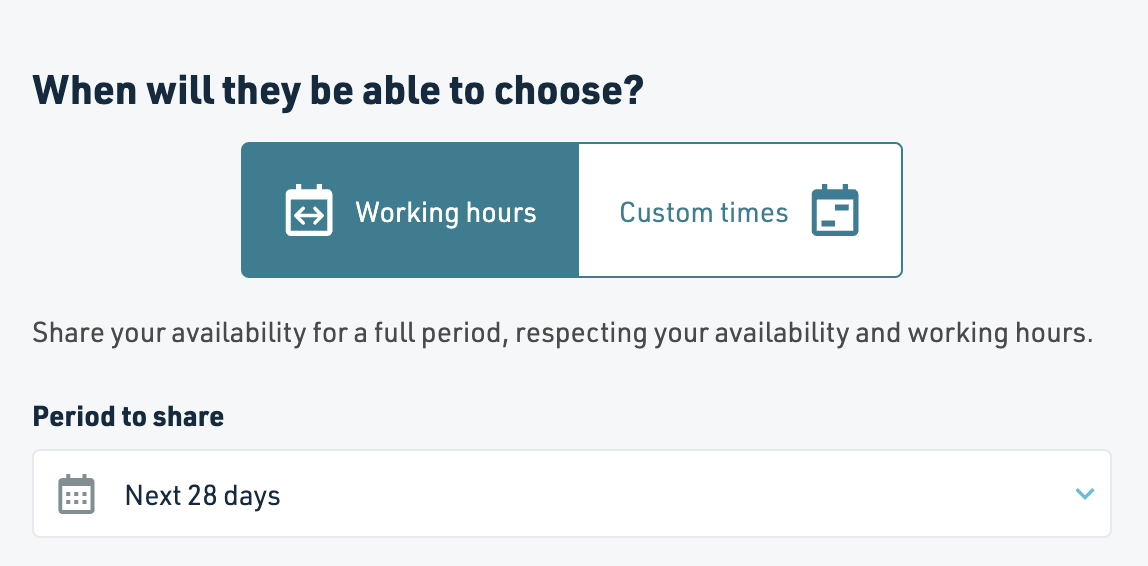
Slot availability #
When selecting available slots for your invitee, you can choose between either the “Working hours” or “Custom Times”.
Working Hours
This option respects the Working hours you selected when setting up your Preferences. It will accurately reflect your availability and grey out times where you are already busy.
From the “Period to share” drop-down, you can select the number of days in advance you want your invitee to be able to choose from.
Custom Times
Want more control over the time slots available to your invitee? No problem.
Our Custom Times option allows you to click and drag to select specific times you’d like your invitee to be able to choose from. We explained how this works here.
Tags #
Perfect for when you need to categorise your requests! We covered how to use the tags here.
Attach Files #
You can attach a file to your request, should you need to review documentation with your invitee during the event.
Contact Us #
If you have any further questions or suggestions, please contact us at support@cronofy.com.