Connecting Your Office 365 Organization
To connect to an Office 365 organization, Cronofy needs to make two separate connections:
- one to your users’ calendar data, and
- one to your directory, so we can list users
This can be done from your Organizational Unit’s Connect Organization Calendars page.
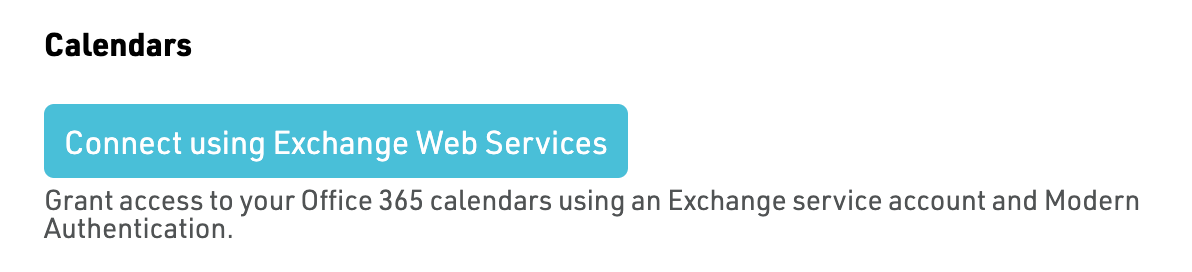
Connecting calendars #
Set up an Exchange service account #
First, a service account within Exchange must be created. This service account must have the ApplicationImpersonation role enabled. Please see the following pages for instructions on setting this up:
Authorize the service account with Cronofy #
Select the Connect using Exchange Web Services button, and log in using the service account on the following Microsoft authorization flow.
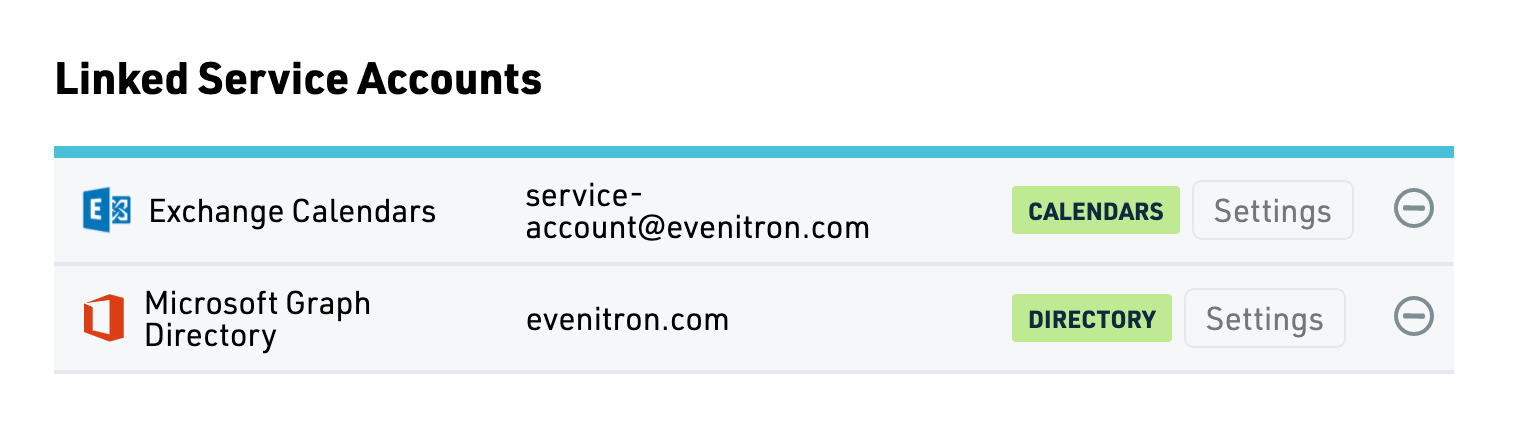
Once it’s connected, you’ll be returned to the page with the new service account listed.

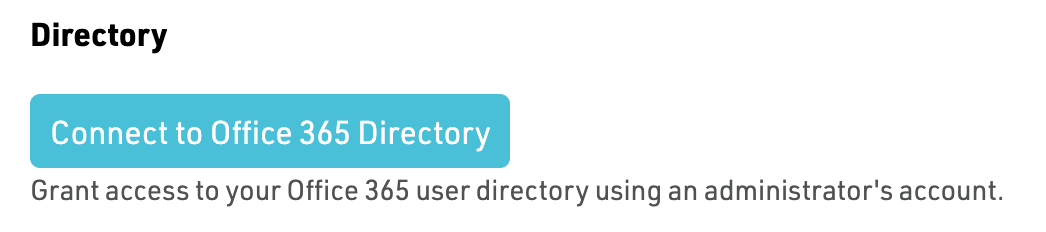
Connecting your directory #
Select the Connect to Office 365 Directory button, and log in using an administrator’s credentials on the following Microsoft authorization flow.
Once authorized, you’ll be returned to the page with the connection listed.
Next steps #
Now the connections are made, see how to provision accounts for your users.