Getting set up
This page will guide you through the steps to generate your personalized booking link, so you can begin sharing it with clients and let Cronofy take care of all the scheduling for you.
Create an account #
The first step is to create an account, see the video below which demonstrates how to do that.
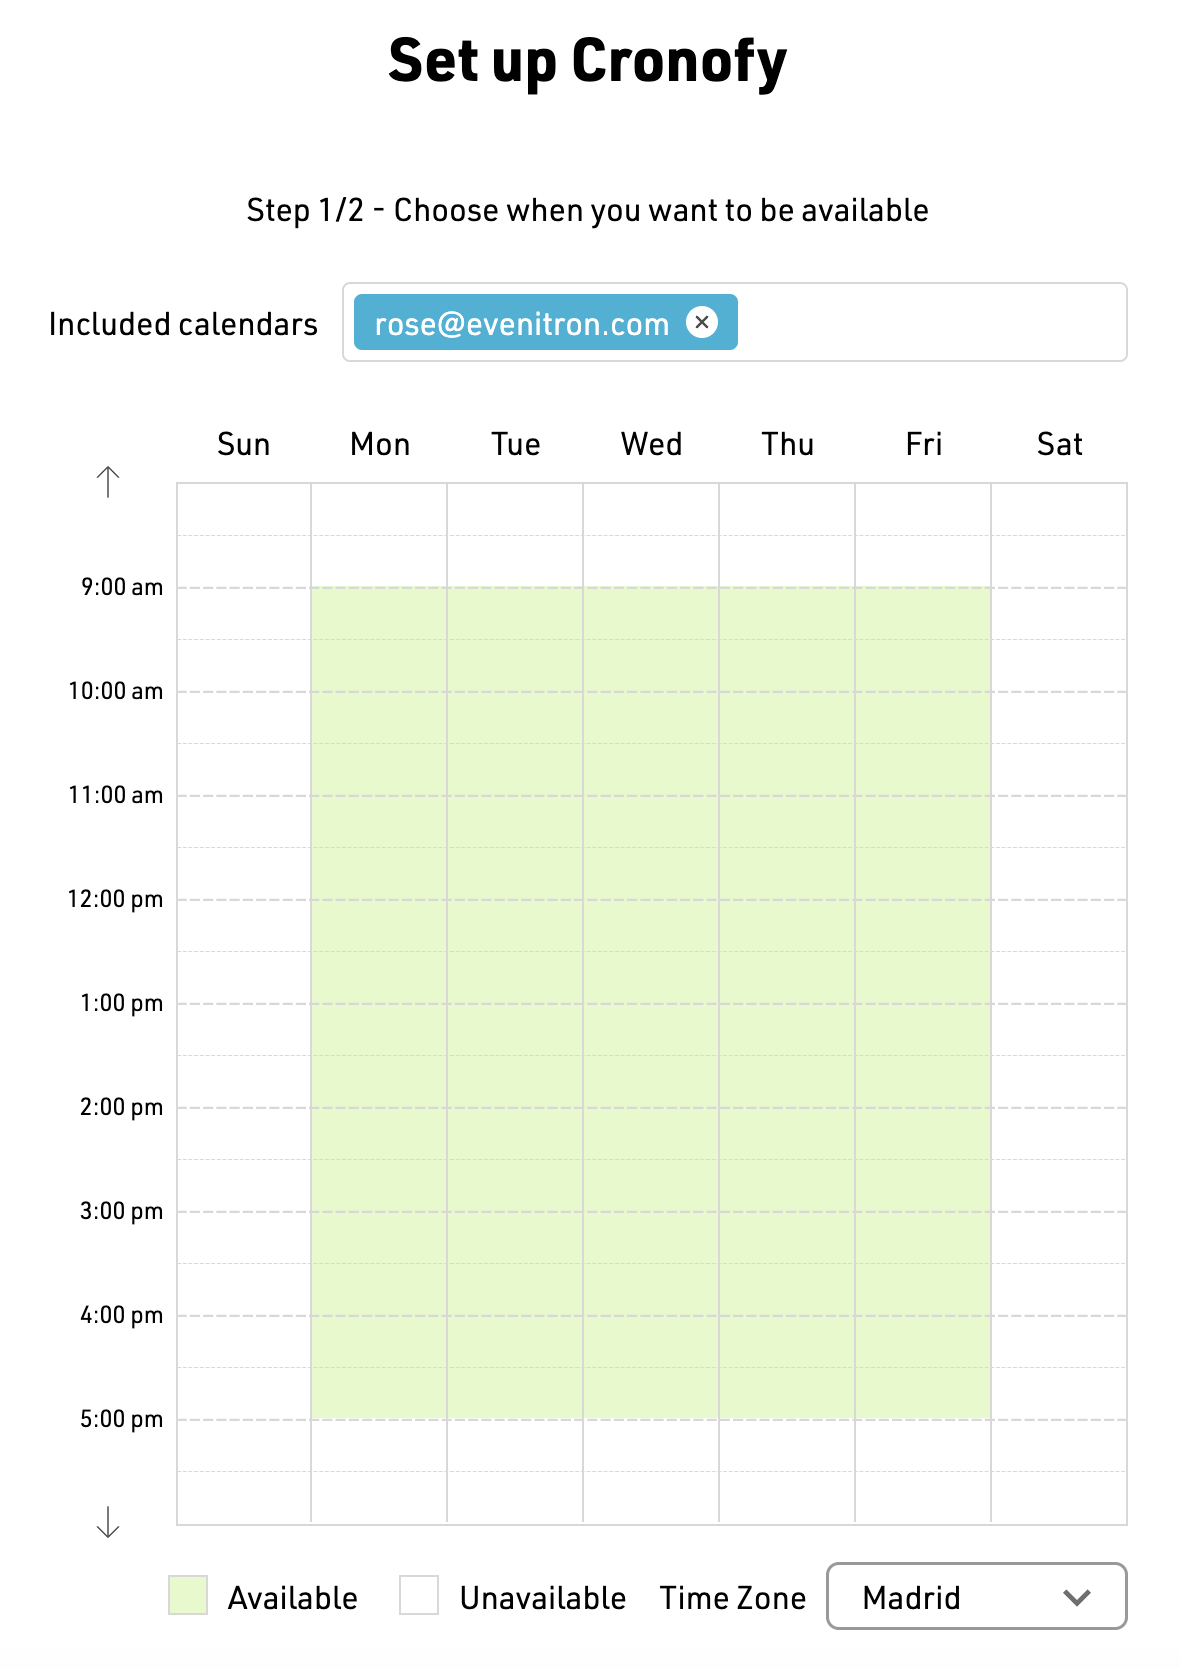
Working hours #
If you are creating an account for the first time, you will be presented with the opportunity to set up your working hours. When clients are choosing a time to book with you, they will only be presented with time slots within these times.
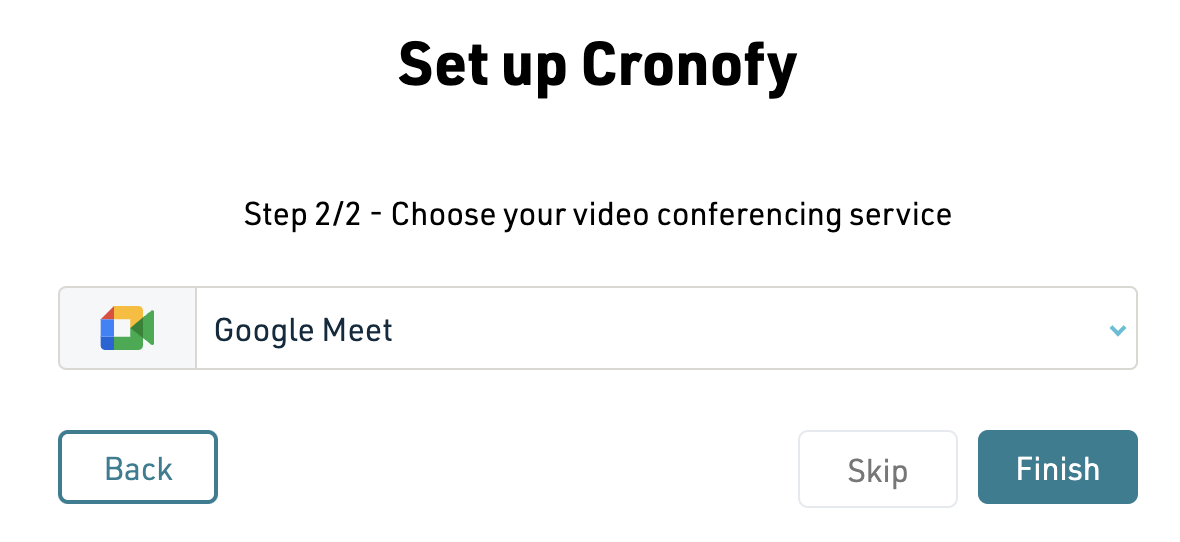
Conferencing service #
After choosing your working hours, select which conferencing service you want to use. You can add additional conferencing services (such as zoom), in addition to configuring your default meeting duration and other preferences here.
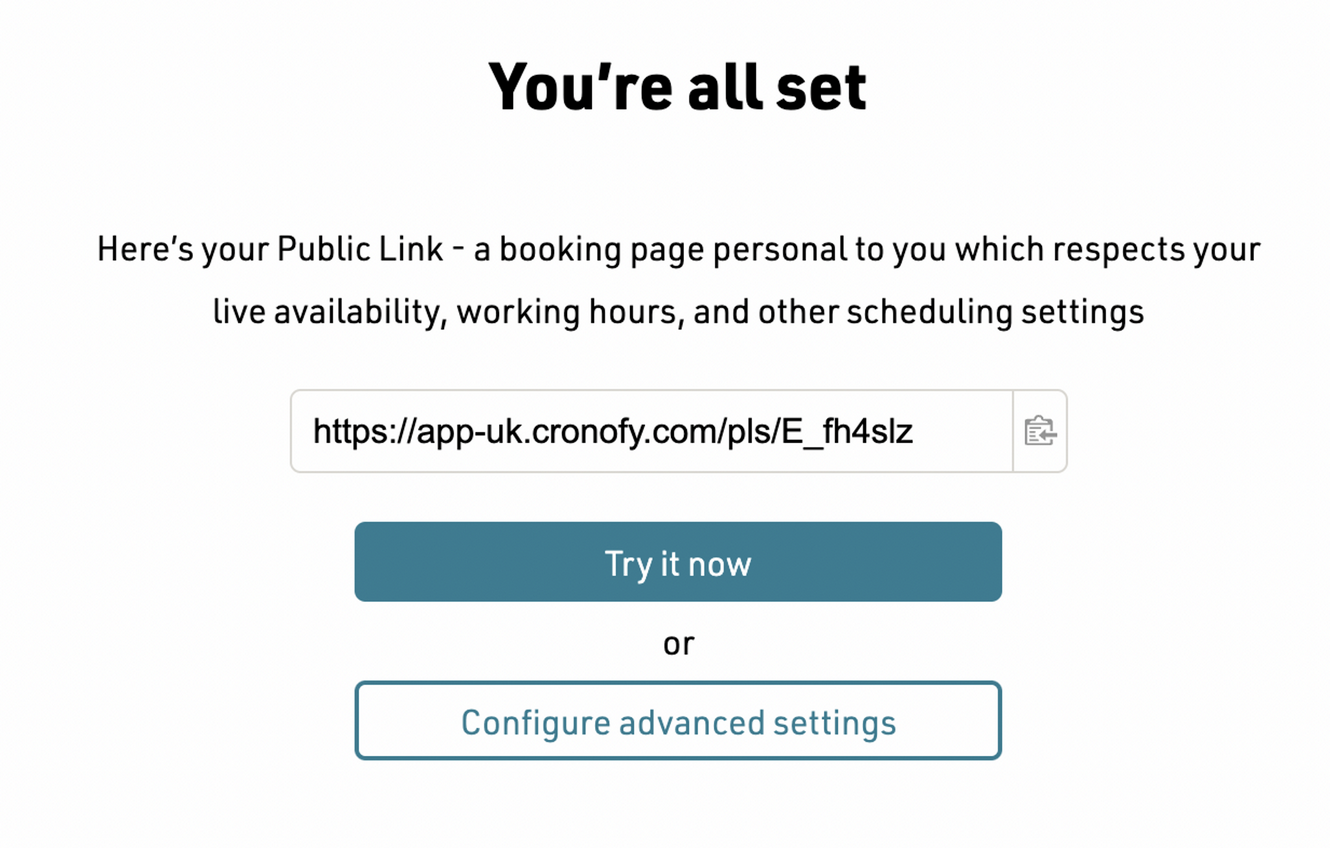
Your public link #
You’re all set! At this point you will be presented with you public link which you can share with clients to book events in your calendar. You can find this link at any time at the bottom of your settings page here.