Your Preferences
You are able to personalise your preferences through selecting the “Scheduler Preferences” link on your Dashboard or by selecting “Preferences” in the left hand menu on your account.
Target Calendar #
You may have multiple calendars and want to ensure scheduled invites go to a specific calendar.

New calendars can be added by clicking “Configure calendar services”
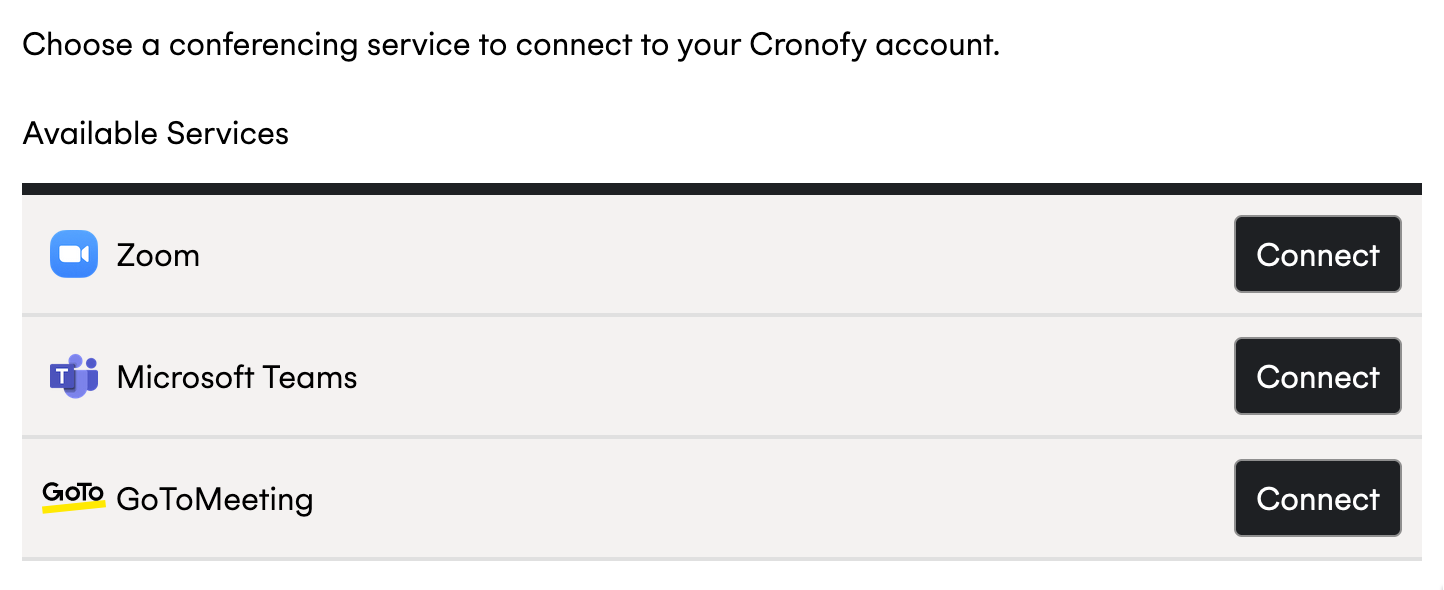
Conferencing #
Offers you the option no conferencing or any conferencing services you have available.

Other conferencing services can be added by clicking “Configure conferencing service” > “Add Conferencing Service” to see the other available services.
Select the service you want to use and sign in using the relevant option. You will be taken to a page to authorize the service.
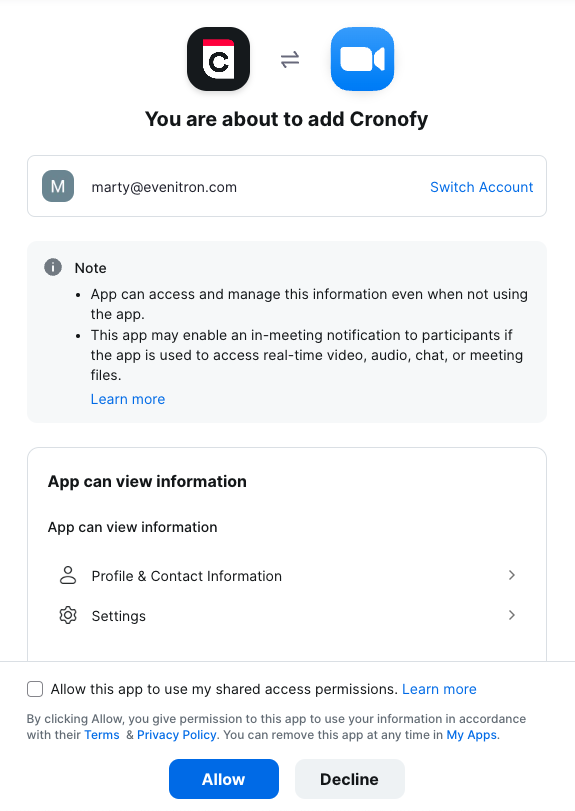
After authorizating the conferencing service you will be redirected to your preferences page with the newly authorized conferencing service set as your default.
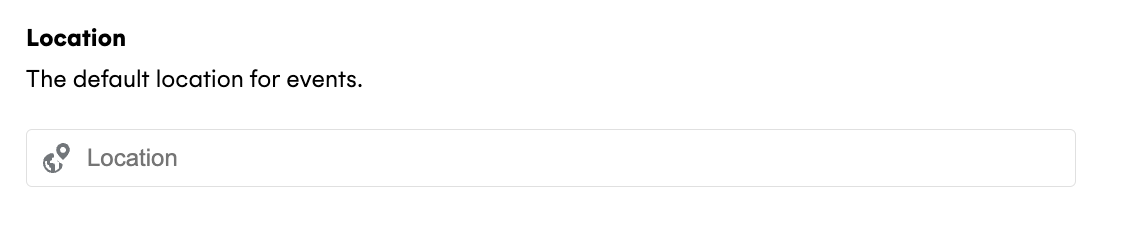
Location #
Enter your default location for face-to-face meetings.
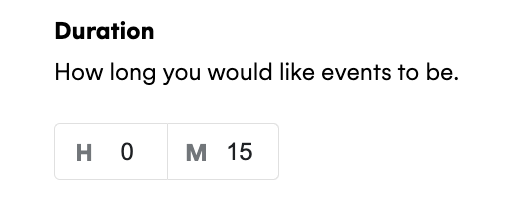
Duration #
If you have a preferred meeting duration you can update that here.
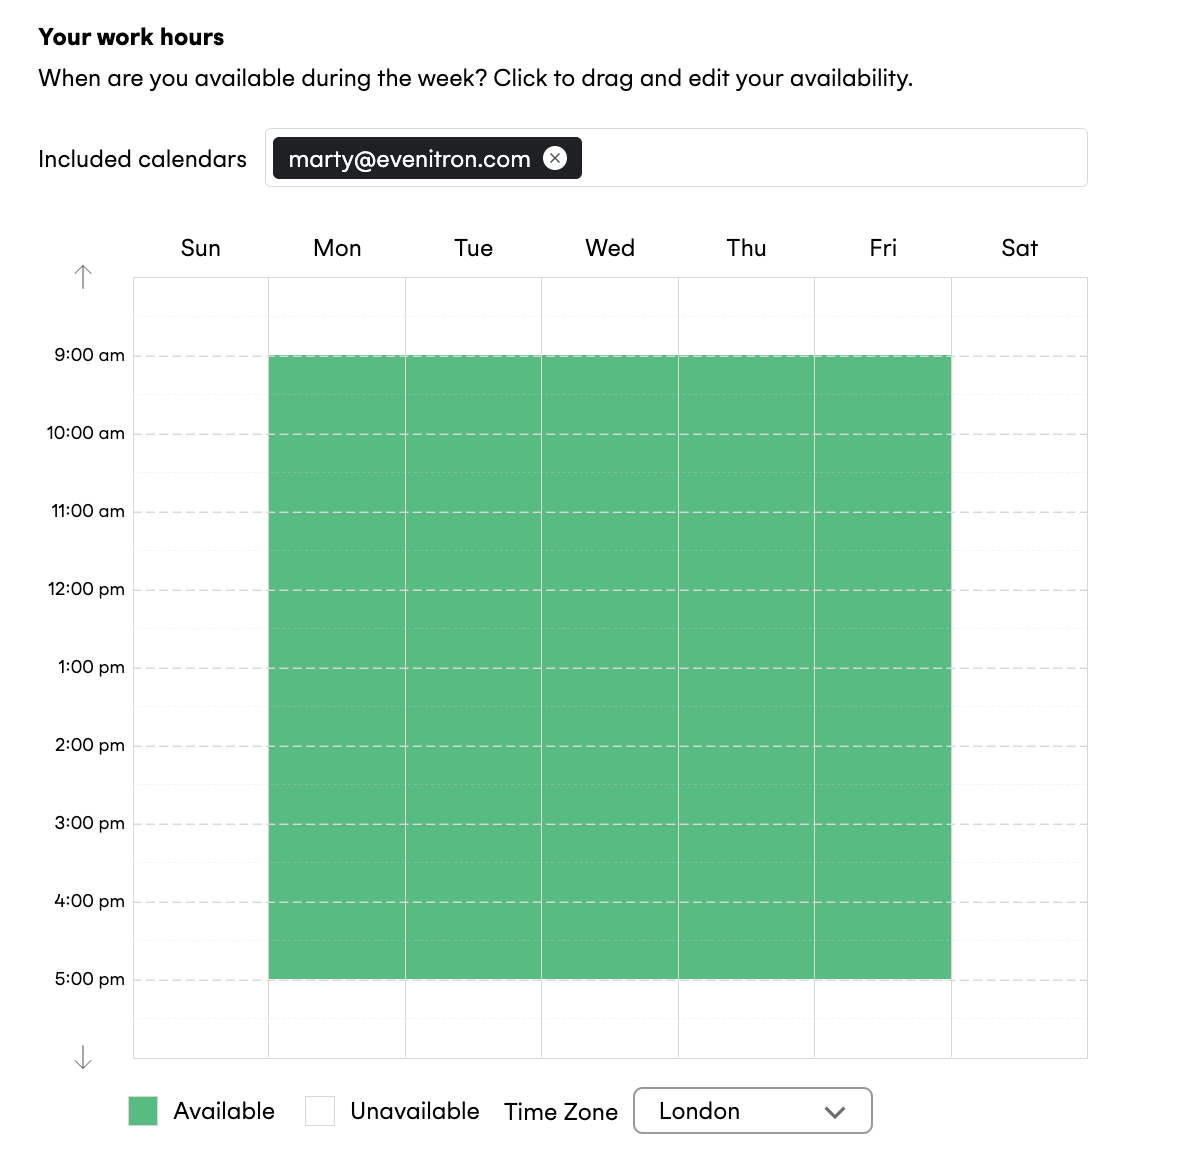
Your work hours #
Working hours can change depending on our commitments and we want to make sure you can reflect that in the Scheduler. Working hours are displayed in green but you can change these by clicking on the hours and turning the colour from green to white or white to green where needed.
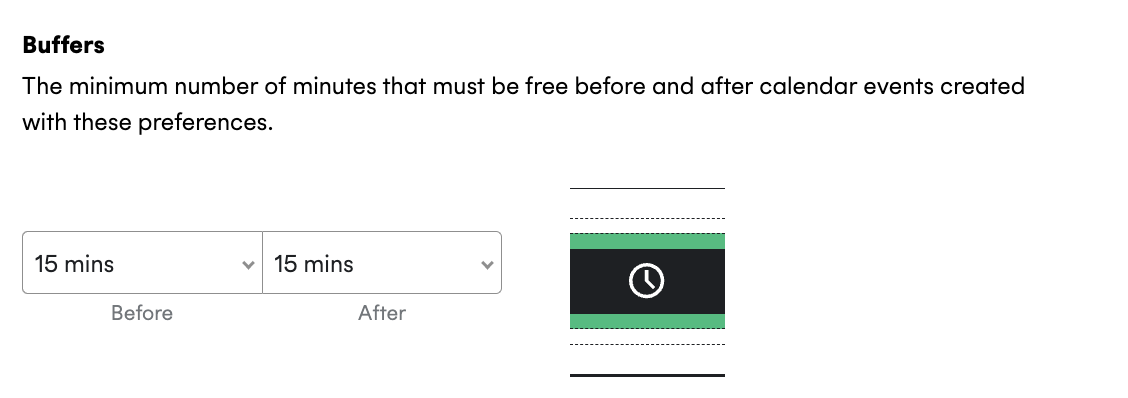
Buffers #
We know how stressful it can be having back to back meetings, so we’ve included the buffer option to have time to prepare or recap on the event. Buffers apply to any events, whether they were created via Cronofy or are external.
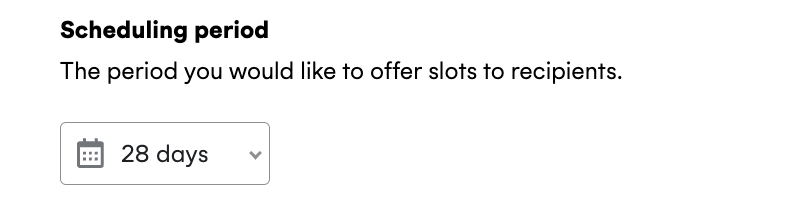
Scheduling period #
When setting up an event you want to make sure it happens in a timely manner according to your schedule as well as your invitees, this feature allows you chose the time period you would like to offer slots for.
For Example, having 14 days selected will only allow your invitees to pick a slot in the next 14 days.
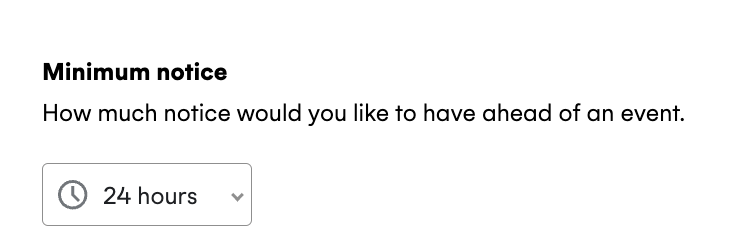
Minimum notice #
Make sure you have time to prepare for all your events by having a minimum notice set-up. Minimum notice ensures you have set amount of time between sending out your unique link and the earliest available slot that can be select.
Once you are happy with your preferences hit the save buttom and this will update to your Scheduler.