Set Up My Account
If you’re new to Cronofy and want to use the Scheduler you will need to create an account first. The video below will guide you through how you can do this:
Creating an Account #
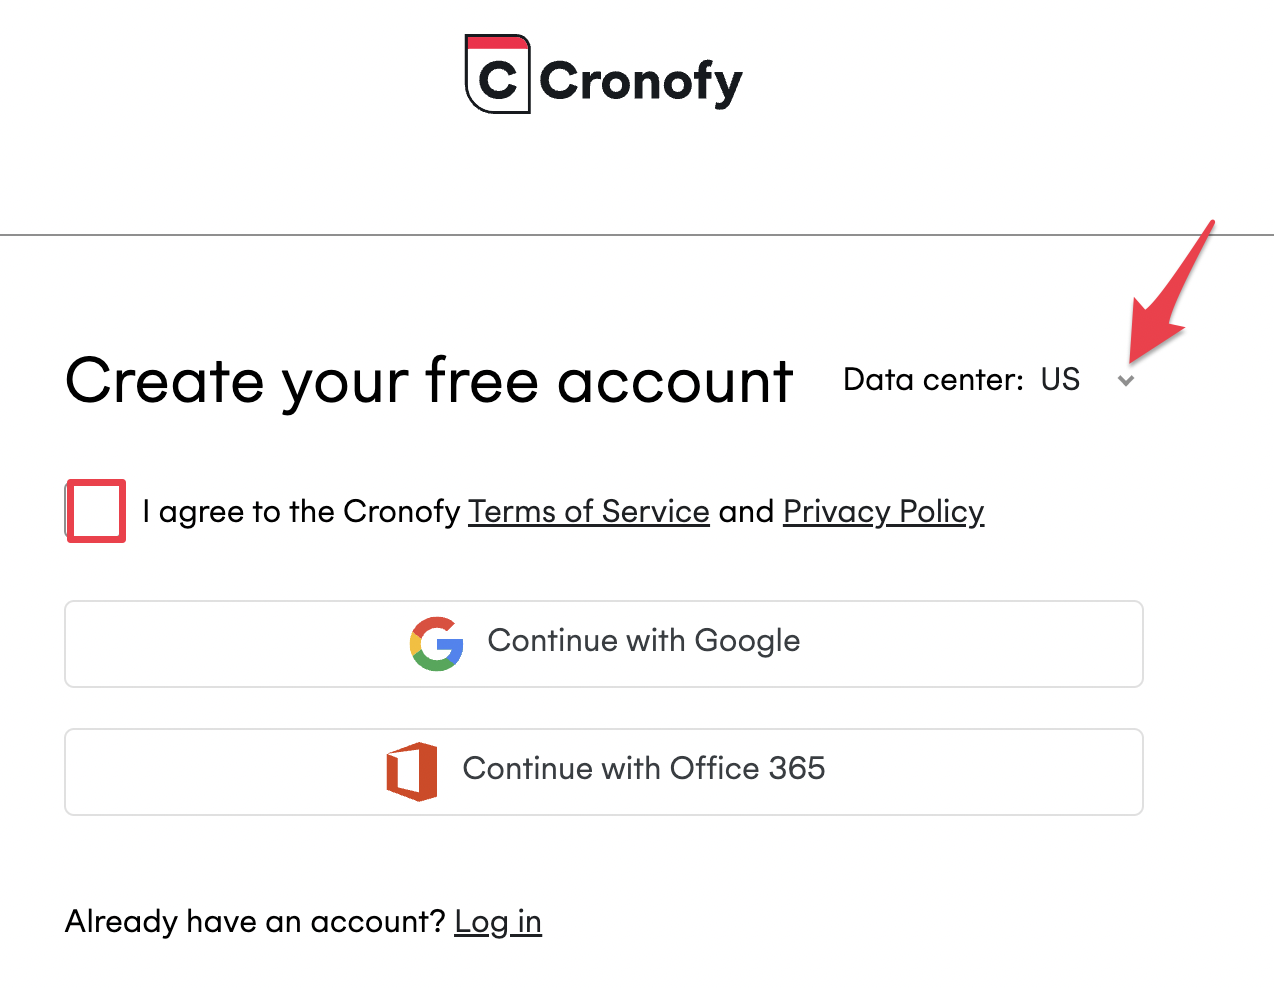
Firstly, go to the Cronofy Website.
Choose a data center, check the checkbox and select your calendar provider to be taken through the prompts to connect the Scheduler to your chosen calendar.
Data Centers #
Your calendar data is very important. When signing up, Cronofy offers multiple data centers for those that want more control over their data residency, or have a regulatory need to keep their calendar data within a particular country.
There is no data flow between Cronofy’s data centers.
The data centers currently available are:
- 🇦🇺 Australia - Sign up
- 🇨🇦 Canada - Sign up
- 🇩🇪 Germany - Sign up
- 🇸🇬 Singapore - Sign up
- 🇬🇧 United Kingdom - Sign up
- 🇺🇸 USA - Sign up
How does it work? #
Once you have created your Cronofy account you can create personalized invitation links one of two ways:
- Through your Cronofy Account
- Using the Cronofy Scheduler Browser Extension
Scheduler Dashboard #
You can access the Cronofy Scheduler at anytime by signing into your account where you will find your Dashboard. From there, you can navigate to your “Requests” or “Preferences”.
Your work hours
By default, Cronofy will suggest available slots between 9am to 5pm. If you need to adjust your work hours, head to your “Preferences.”
Your booking page
You can share your booking page by going into your “Preferences” and copy your Public link into your emails, email signature etc. Sharing this self-schedule link will allow anyone to book with you.